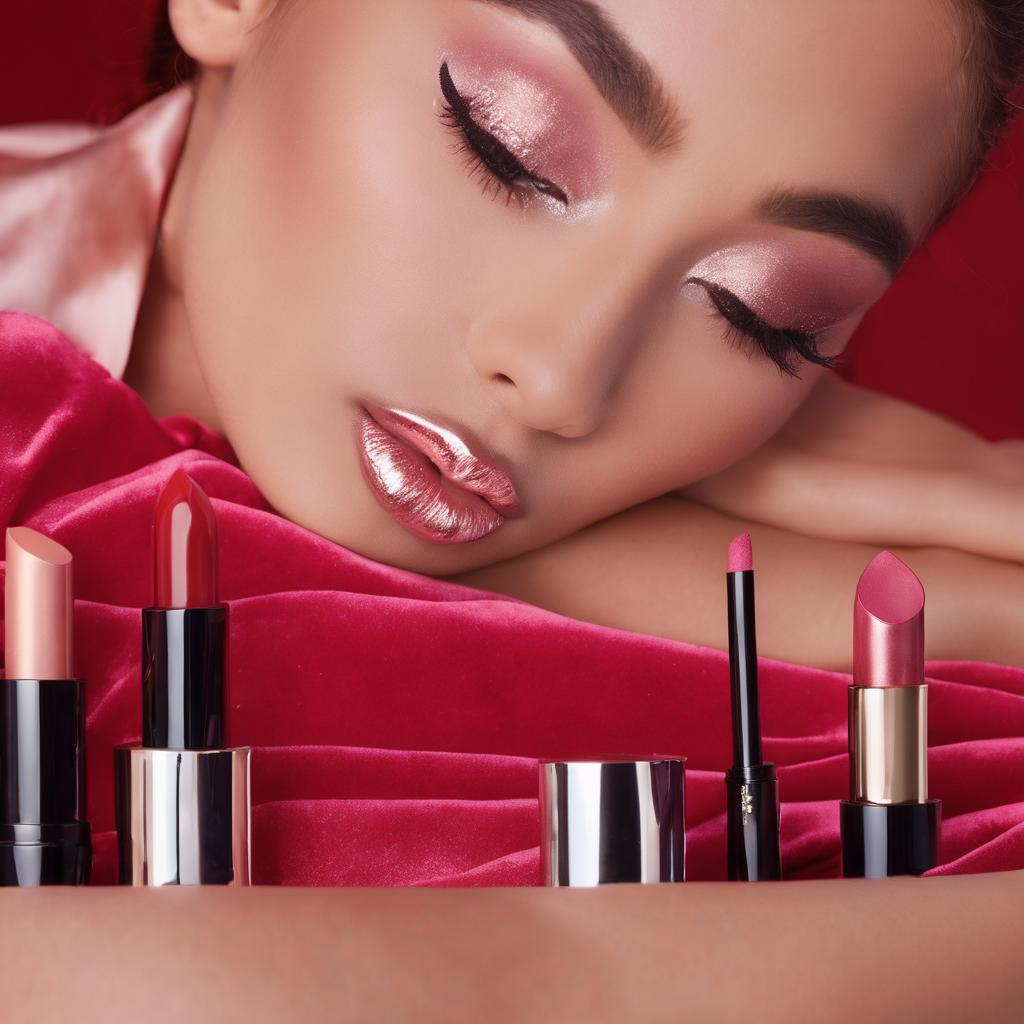
Enhancing Your Natural Features: Techniques to bring out your best features without overpowering your natural beauty
One of the key aspects of enhancing your natural features is to highlight your best assets without overpowering your natural beauty. This can be achieved by using subtle techniques that enhance your features rather than mask them. For instance, if you have beautiful eyes, you can use a neutral eyeshadow shade to bring out their color and shape without going for bold and dramatic looks. Similarly, if you have naturally full lips, a sheer gloss can add a touch of shine and enhance their natural plumpness.
Another technique to enhance your natural features is to opt for a more natural-looking foundation application. Instead of heavy coverage, choose a lightweight foundation that complements your skin tone and texture. This will create a more seamless and natural base that allows your skin to breathe. Remember to blend well and focus on applying foundation only where it is needed, such as on blemishes or redness, rather than applying it all over the face. By doing so, you will achieve a flawless finish that enhances your skin’s natural beauty.
• Use a neutral eyeshadow shade to bring out the color and shape of your beautiful eyes.
• Opt for a sheer gloss to enhance the natural plumpness of your full lips.
• Choose a lightweight foundation that complements your skin tone and texture for a more natural-looking application.
• Blend well and apply foundation only where it is needed, such as on blemishes or redness, instead of applying it all over the face.
Achieving Flawless Foundation Application: Tips to ensure a seamless and long-lasting foundation base
Applying foundation is the key to achieving a flawless base for your makeup look. To ensure a seamless and long-lasting foundation application, there are a few tips you should follow. First, start with clean and moisturized skin. This will create a smooth canvas for your foundation and help it adhere better. Use a lightweight, oil-free moisturizer to prevent excess oiliness throughout the day.
Next, choose the right shade of foundation that matches your skin tone. Testing the foundation on your jawline is the best way to find your perfect match. Make sure to blend the foundation into your skin, using a brush or beauty sponge, to avoid harsh lines or streaks. For a more natural finish, apply foundation sparingly and build up coverage where needed. Remember, less is more when it comes to foundation application. Finally, set your foundation with a lightweight powder to lock it in place and prevent shine. This will help your foundation last longer and keep your skin looking flawless throughout the day.
• Start with clean and moisturized skin
• Use a lightweight, oil-free moisturizer
• Choose the right shade of foundation that matches your skin tone
• Test the foundation on your jawline to find the perfect match
• Blend the foundation into your skin using a brush or beauty sponge
• Apply foundation sparingly for a more natural finish
• Build up coverage where needed
• Set your foundation with a lightweight powder
• Lock it in place and prevent shine
Mastering the Art of Contouring and Highlighting: Techniques to enhance your facial structure and create dimension
Contouring and highlighting are popular techniques in the world of makeup that can help enhance your facial structure and create dimension. By using shades that are darker than your natural skin tone, contouring can create the illusion of shadows, which can make certain areas of your face appear more sculpted. On the other hand, highlighting involves the use of lighter shades to bring attention to certain features, such as the high points of your face, like your cheekbones and brow bone.
To achieve a successful contour and highlight, it’s essential to choose shades that are suitable for your skin tone. Opt for a contour shade that is one to two shades darker than your natural skin tone, and a highlight shade that is one to two shades lighter. When applying contour, focus on areas such as the hollows of your cheeks, along your jawline, and the sides of your forehead, blending it out well for a seamless finish. For highlighting, apply the lighter shade to the high points of your face, like your cheekbones, down the bridge of your nose, and on your cupid’s bow. By mastering these techniques, you can enhance your natural features and create a beautifully sculpted look.
• Contouring and highlighting are popular makeup techniques that enhance facial structure and create dimension.
• Contouring involves using shades darker than your natural skin tone to create shadows and sculpt certain areas of the face.
• Highlighting uses lighter shades to draw attention to features like cheekbones and brow bone.
• Choosing suitable shades for your skin tone is crucial for a successful contour and highlight.
• Opt for a contour shade one to two shades darker than your natural skin tone, and a highlight shade one to two shades lighter.
• Focus on applying contour in areas such as hollows of cheeks, jawline, and sides of forehead, blending it well for a seamless finish.
• Apply the lighter highlight shade on high points of the face like cheekbones, nose bridge, and cupid’s bow.
• Mastering these techniques can enhance natural features and create a beautifully sculpted look.
Creating the Perfect Winged Eyeliner: Tricks for achieving a precise and symmetrical winged eyeliner look
A precise and symmetrical winged eyeliner look can be achieved with a few simple tricks. First, start by selecting a good quality liquid eyeliner that has a fine, pointed tip. This will help you create thin and precise lines. Begin by drawing a thin line along your upper lash line, starting from the inner corner and extending it towards the outer corner of your eye.
Next, determine the angle and length of your wing. To create a symmetrical look, it’s important to use the natural angle of your lower lash line as a guide. Extend the line from the outer corner of your eye upwards, following the shape of your lower lash line. To make the wing appear more precise, you can use thin strips of tape or a business card as a stencil. Once you’ve drawn the wing, carefully connect it to the eyeliner on your upper lash line, creating a seamless and symmetrical look. Remember to keep your hand steady and take your time for the best results.
• Select a good quality liquid eyeliner with a fine, pointed tip
• Draw a thin line along your upper lash line from inner to outer corner
• Use the natural angle of your lower lash line as a guide for wing placement
• Extend the line from the outer corner of your eye upwards for symmetrical wings
• Use tape or a business card as a stencil for precise wing shape
• Connect the wing to the eyeliner on your upper lash line for seamless look
• Keep hand steady and take time for best results
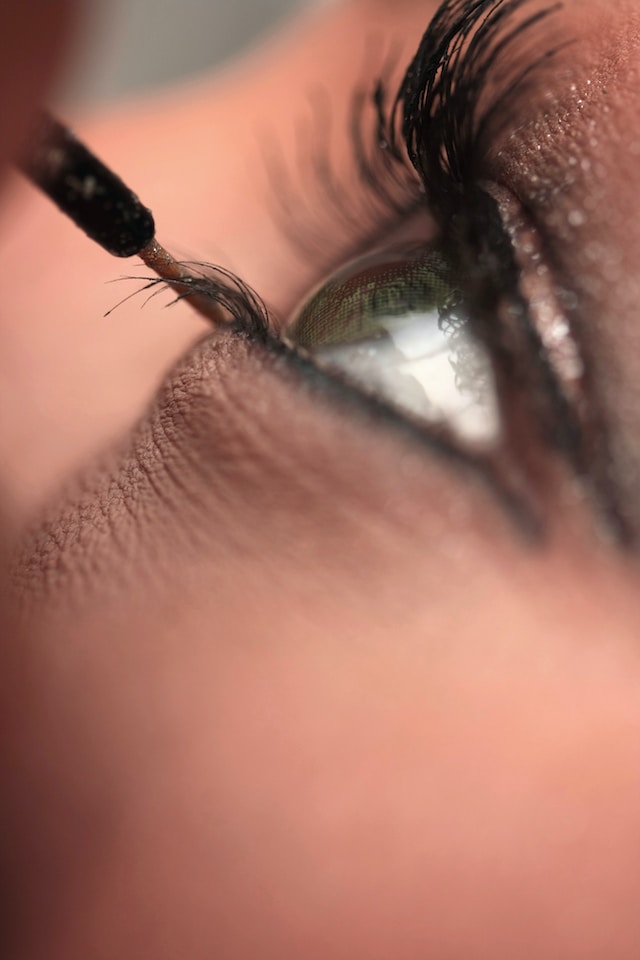
Amplifying Your Lashes: Tips and tricks to make your lashes appear fuller and longer
To achieve fuller and longer lashes, there are several tips and tricks that can make a noticeable difference. One key technique is to start with a good eyelash curler. This tool helps to lift and curl your lashes, instantly opening up your eyes and creating the illusion of length. When using an eyelash curler, it’s important to position it as close to the lash line as possible and gently squeeze it for a few seconds. Repeat this step a few times, moving the curler along the length of your lashes, to ensure all lashes are curled evenly.
Another trick to amplify your lashes is to apply mascara strategically. Firstly, choose a mascara formula that suits your needs. If you desire length, opt for a lengthening mascara; if you want volume, go for a volumizing mascara. Start by wiggling the mascara wand at the base of your lashes and then, using a zigzag motion, work your way up to the tips. This technique helps to coat every lash, adding both volume and length. To amplify the effect, you can apply a second or even a third coat, making sure to let each coat dry before adding another. This will give your lashes a fuller and more dramatic look. Remember not to forget the lower lashes as well, as they can also make a significant impact on your overall lash appearance.
• Use a good eyelash curler to lift and curl your lashes
• Position the curler as close to the lash line as possible and gently squeeze for a few seconds
• Repeat this step along the length of your lashes to ensure even curls
• Choose a mascara formula that suits your needs (lengthening or volumizing)
• Wiggle the mascara wand at the base of your lashes and use a zigzag motion to coat every lash
• Apply multiple coats, letting each coat dry before adding another, for fuller and more dramatic lashes
• Don’t forget to apply mascara on lower lashes for an overall enhanced look
Long-Lasting Lipstick: Techniques to make your lipstick stay put throughout the day
To ensure that your lipstick stays put throughout the day, there are a few techniques that you can try. First, you can start by exfoliating your lips to remove any dry or flaky skin. This will create a smooth surface for your lipstick to adhere to. You can simply use a lip scrub or even a toothbrush to gently scrub your lips.
After exfoliating, it’s important to moisturize your lips. Dry lips can cause your lipstick to crack or fade quickly. You can apply a lip balm or even use a hydrating lip mask before applying your lipstick. This will keep your lips moisturized and prevent your lipstick from drying out.
• Exfoliate your lips using a lip scrub or toothbrush to remove dry or flaky skin
• Create a smooth surface for your lipstick to adhere to
• Moisturize your lips with a lip balm or hydrating lip mask before applying lipstick
• Prevent cracking and fading of lipstick caused by dry lips
Eyebrow Shaping and Filling: Tips to shape and fill your eyebrows for a polished look
Eyebrows play a key role in framing the face and can greatly enhance your overall appearance. When it comes to eyebrow shaping and filling, there are a few tips and tricks that can help you achieve a polished and well-groomed look. First and foremost, it’s important to determine your natural eyebrow shape and work with it rather than against it. This means avoiding excessive plucking or waxing, as it can lead to an unnatural and unflattering appearance. Instead, opt for gentle tweezing or threading to maintain a clean and defined shape.
To fill in sparse areas or create a more defined shape, eyebrow pencils or powders can be your best allies. When choosing a shade, opt for one that matches your natural hair color or is a shade lighter for a softer, more natural effect. Using light, feathery strokes, fill in any gaps or sparse areas in your eyebrows, following the direction of your natural hair growth. Be sure to blend the product well for a seamless and natural-looking finish. Finally, don’t forget to set your eyebrows in place with a clear brow gel or wax to keep them looking groomed throughout the day.
• Determine your natural eyebrow shape and work with it
• Avoid excessive plucking or waxing to maintain a clean and defined shape
• Use gentle tweezing or threading for shaping
• Choose an eyebrow pencil or powder that matches your natural hair color or is slightly lighter for a softer effect
• Fill in any gaps or sparse areas using light, feathery strokes
• Follow the direction of your natural hair growth when filling in eyebrows
• Blend the product well for a seamless and natural-looking finish
• Set your eyebrows in place with a clear brow gel or wax to keep them groomed throughout the day
Blending Eyeshadow Like a Pro: Techniques for seamlessly blending eyeshadow shades for a professional finish
Blending eyeshadow is an essential skill for achieving a professional and polished eye makeup look. To seamlessly blend eyeshadow shades, start by applying a transition shade to the crease of your eyelid using a fluffy blending brush. This shade should be slightly darker than your natural skin tone and will help create depth and dimension. Using light circular motions, blend the transition shade back and forth along the crease, gradually diffusing the color for a soft and natural gradient.
Next, apply your chosen lid shade to the center of your eyelid using a flat shading brush. This shade should be slightly lighter or brighter than the transition shade and will add vibrancy to your eye look. Gently pat the color onto the lid, focusing on the center and blending towards the edges. To ensure a seamless transition between the lid shade and the transition shade, use a clean blending brush to softly blend the edges together. This will create a smooth transition and prevent any harsh lines. Remember, the key to a professional eyeshadow blend is to take your time and blend in small, controlled motions until the colors seamlessly meld together.
• Start by applying a transition shade to the crease of your eyelid using a fluffy blending brush.
• Use light circular motions to blend the transition shade back and forth along the crease.
• Gradually diffuse the color for a soft and natural gradient effect.
• Apply your chosen lid shade to the center of your eyelid using a flat shading brush.
• Gently pat the color onto the lid, focusing on the center and blending towards the edges.
• Use a clean blending brush to softly blend the edges together for a seamless transition between shades.
Makeup Tools and Brushes: Essential tips for selecting and using the right tools and brushes for different makeup applications
When it comes to selecting and using the right tools and brushes for your makeup application, there are a few essential tips to keep in mind. First and foremost, it’s important to invest in high-quality brushes that are tailored to the specific task at hand. Different brushes are designed to apply different types of products, so having a variety of options in your collection is key. For example, a fluffy blending brush is perfect for seamlessly blending eyeshadow shades, while a dense, flat brush is ideal for packing on intense pigment.
In addition to the type of brush, the bristle material is also an important factor to consider. Natural bristles are best suited for applying powder products, while synthetic bristles work well with liquid and cream formulas. It’s worth noting that synthetic brushes are also a great option for those who prefer vegan or cruelty-free products.
Once you have your brushes in hand, proper usage is key to achieving flawless results. Always start with a clean and dry brush, as excess product can affect the application and overall finish. Lightly tapping off any excess powder or pigment before applying to the face will help prevent any fallout or patchy application. Using a gentle hand, apply the product in small, controlled motions, gradually building up the desired intensity. Remember to blend, blend, blend, as this will ensure a seamless and natural-looking finish. By following these essential tips and techniques, you’ll be well on your way to mastering the art of using makeup tools and brushes for different applications.
• Invest in high-quality brushes tailored to the specific task at hand
• Different brushes are designed for different types of products, so having a variety is important
• Fluffy blending brushes are perfect for seamlessly blending eyeshadow shades
• Dense, flat brushes are ideal for packing on intense pigment
• Consider the bristle material – natural bristles work best with powder products, synthetic bristles work well with liquid and cream formulas
• Synthetic brushes are a great option for those who prefer vegan or cruelty-free products
• Start with a clean and dry brush to achieve flawless results
• Tap off any excess powder or pigment before applying to prevent fallout or patchy application
• Apply product in small, controlled motions, gradually building up intensity
• Blend thoroughly for a seamless and natural-looking finish
Makeup Removal and Skincare: Important steps to properly remove makeup and maintain healthy skin.
When it comes to makeup removal and skincare, it is crucial to follow a proper routine to ensure the health and vitality of your skin. First and foremost, start by using a gentle cleanser that is suitable for your skin type. This will effectively remove all traces of makeup, dirt, and oil from your face. Avoid harsh cleansers that can strip your skin of its natural oils and disrupt the balance. Instead, opt for cleansing products that are formulated with nourishing ingredients to keep your skin hydrated and radiant.
After cleansing, it is important to tone your skin. Toning helps to remove any remaining residue and restore the pH balance of your skin. Choose a toner that is alcohol-free and contains soothing ingredients like aloe vera or chamomile. Gently apply the toner using a cotton pad, focusing on areas that are prone to oiliness or congestion.
In the next article, we will explore the importance of using the right moisturizers and other skincare products to maintain healthy skin after makeup removal. Stay tuned for more tips on how to achieve a flawless complexion and keep your skin looking its best.
• Start by using a gentle cleanser suitable for your skin type
• Avoid harsh cleansers that can strip your skin of its natural oils
• Opt for cleansing products formulated with nourishing ingredients
• Toning helps remove any remaining residue and restore pH balance
• Choose an alcohol-free toner with soothing ingredients like aloe vera or chamomile
• Gently apply the toner using a cotton pad, focusing on oily or congested areas