Introduction
If you’re someone who prefers a natural look, then you’ll love this tutorial. It’s simple but effective, and it will give your skin a fresh and glowing appearance. Here’s how to do it:
Step 1: Prime Your Foundation
Primer is an essential step in creating a smooth canvas for your makeup, and it also helps with longevity. The best primers are oil-free and fragrance-free, as they won’t clog pores or irritate sensitive skin. If you have oily or acne-prone skin, look for a primer that contains SPF; this will protect against sun damage while keeping your face matte throughout the day (and night). You can also use primer on its own to brighten up dull complexions or add some color if you’re looking for something more natural than full coverage!
Step 2: Apply a Cream Highlighter Under Your Eyes
Apply a cream highlighter to the inner corners of your eyes and then blend upward toward the middle of your eyelid. Next, apply it to the outer corner of each eye, followed by blending upward again toward the middle. Finally, add some more along the bridge of your nose where light naturally hits during daytime hours (but not too much!).
Step 3: Shimmer Powder in Your Cheeks and Lip Area
After applying the foundation, you can use a shimmer powder to create a natural glow. Apply it on top of your cheekbones and around the edges of your lips for extra shine.
Step 4: Apply Concealer to Dark Circles and Blemishes
- Use a concealer brush to apply the concealer under eyes, on blemishes, and on the sides of your nose in a patting motion. Make sure to blend well!
Step 5: Blend Out the Foundation and Concealer with a Beauty Blender or Sponge
Now that you’ve applied your foundation and concealer, it’s time to blend them out.
You can do this by hand or with a makeup sponge. I prefer using a Beauty Blender because it gives me more control over where I’m applying the product and how much I’m putting on my face, but if you’re just starting out or don’t have one yet, feel free to use any old sponge that gets the job done!
Blend out the areas where there are still visible lines from where your skin was bare in Step 2 (underneath eyes) until they look smooth and even with rest of face
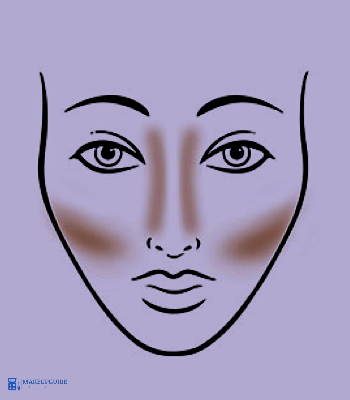
Step 6: Add Blush to the Cheeks Using an Angled Contour Brush
If you have a round face shape, use a blush brush with angled bristles to apply color to the apples of your cheeks. This will make them appear less flat and give them some definition. Use a light hand when applying this step–you don’t want to overdo it or look like you’re wearing too much makeup!
Step 7 (Optional): Add Eyeliner and Mascara for Definition and Length, Define the Outer Corners of Eyes Using a Tinted Brow Gel
Eyeliner can add definition to your eyes and mascara can help give the appearance of length. For this look, I used an eyeliner brush to apply a thin line of black gel liner along my upper lash line. You can also use a small angled brush or even just your finger! Next, I applied mascara in short strokes at both inner corners of my eye as well as on top lashes near my brow bone (or wherever you want). Finally, use a tinted brow gel specifically designed for defining and filling in sparse areas around eyebrows–I like L’Oréal Paris Brow Artist Designer Shaper & Definer Gel because it comes with built-in spoolie brush applicator which makes blending easy peasy!
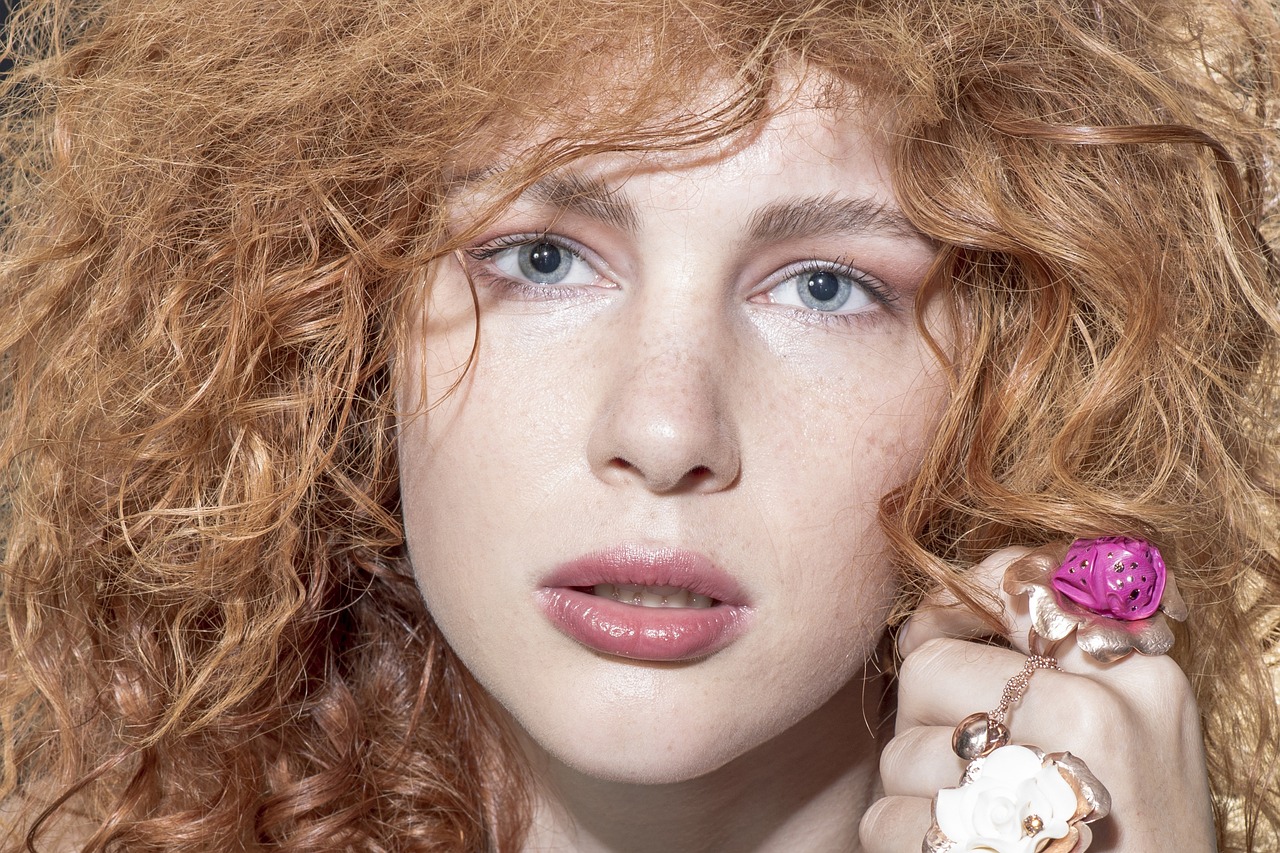
Learn how to create a daytime look that is natural but still gives you definition.
This tutorial is for a natural daytime look. You can use it if you want to look as though you have been out in the sun, but still want to keep your makeup looking natural. A primer will help foundation apply smoothly and evenly, while cream highlighter adds light to your face without making it look like there’s too much product on or caking up around the edges of the face. Shimmer powder gives definition without being overwhelming, so it works especially well for those who have trouble applying shimmery products without looking too made up or shiny (like me).
Shimmer powder can be applied with a brush or sponge; either way works just fine! Just make sure that when applying concealer under eyes or blemishes, blend well so there aren’t any harsh lines showing through underneath where they shouldn’t be visible at all times during daylight hours when everyone else sees these things clearly
Conclusion
We hope you enjoyed learning how to create a daytime makeup look that is natural but still gives you definition. If you want to learn more about beauty tips and tricks, check out our other articles on our blog!