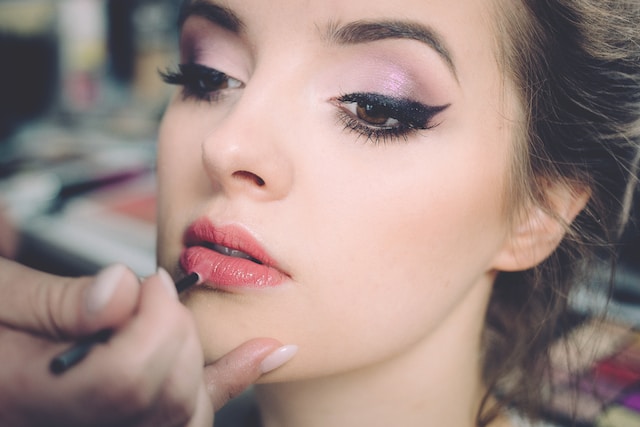
Applying Lip Primer
Lip primer is a crucial step in achieving a flawless lip look. It helps to create a smooth canvas, allowing your lipstick to adhere better and last longer. Before applying your lip primer, make sure your lips are clean and moisturized. Exfoliating your lips beforehand can also help to remove any dry, flaky skin, ensuring a smoother application.
To apply the lip primer, start by taking a small amount onto your fingertip or a lip brush. Gently dab it onto your lips, starting from the center and working your way outwards. Pay extra attention to the edges of your lips to create a clean and defined look. Allow the primer to dry for a moment before moving on to the next step, such as applying lip liner or lipstick. Remember, a little goes a long way with lip primer, so start with a small amount and build up if needed.
• Clean and moisturize your lips before applying lip primer
• Exfoliate your lips to remove dry, flaky skin for a smoother application
• Take a small amount of lip primer onto your fingertip or lip brush
• Gently dab the primer onto your lips, starting from the center and working outwards
• Pay extra attention to the edges of your lips for a clean and defined look
• Allow the primer to dry before moving on to applying lip liner or lipstick
Exfoliating Your Lips
To achieve smooth and soft lips, exfoliation is key. By exfoliating your lips, you can remove dead skin cells and create a perfect canvas for your lip products. There are various exfoliating methods you can try, from using a lip scrub to making your own DIY lip exfoliator at home.
When it comes to lip exfoliation, using a lip scrub is a popular and effective choice. Look for a gentle lip scrub that contains natural exfoliants like sugar or coffee grounds. Apply a small amount of the scrub to your lips and gently massage in circular motions for about a minute. This will help slough off any dry and flaky skin, leaving your lips feeling soft and smooth. Remember to rinse off the scrub with lukewarm water and follow up with a moisturizing lip balm to keep your lips hydrated.
• Using a lip scrub is an effective method for exfoliating your lips
• Look for a gentle lip scrub with natural exfoliants like sugar or coffee grounds
• Apply a small amount of the scrub to your lips and gently massage in circular motions
• Massage for about a minute to remove dry and flaky skin from your lips
• Rinse off the scrub with lukewarm water after exfoliation
• Follow up with a moisturizing lip balm to keep your lips hydrated
Choosing the Right Lip Liner
Lip liner is a crucial element in achieving a polished and defined lip look. When choosing the right lip liner, it is important to consider the shade that complements your natural lip color or the lipstick you will be using. Opt for a lip liner that is one to two shades darker than your lipstick for a more subtle and natural effect, or go for a shade that matches your lipstick for a stronger and more defined lip shape.
In addition to the shade, it is also important to choose a lip liner with a long-lasting and smudge-proof formula. This will ensure that your lip color stays in place throughout the day without feathering or bleeding. Look for lip liners that have a creamy and smooth texture, as they will be easier to apply and blend seamlessly with your lipstick. Remember, the right lip liner can enhance the longevity of your lip color and help you achieve a flawless lip look.
• Consider the shade that complements your natural lip color or lipstick
• Opt for a lip liner that is one to two shades darker than your lipstick for a subtle effect
• Choose a shade that matches your lipstick for a more defined lip shape
• Look for a long-lasting and smudge-proof formula to prevent feathering and bleeding
• Select lip liners with creamy and smooth texture for easier application and blending
• The right lip liner can enhance the longevity of your lip color
• It helps you achieve a flawless and polished lip look.
Defining Your Lip Shape
Before applying lipstick, it’s important to define your lip shape to create a polished and professional look. Start by gently exfoliating your lips to remove any dry or dead skin cells. This will help to create a smooth canvas for lip products and prevent them from settling into fine lines or cracks.
Once your lips are exfoliated, use a lip liner that matches your natural lip color or the shade of lipstick you plan to wear. Begin by outlining your top lip, following the natural shape. If you have uneven lip contours, you can slightly overline or underline certain areas to achieve a more balanced look. Moving on to the bottom lip, again, follow your natural lip line and ensure the liner is evenly applied.
By properly defining your lip shape, you can enhance your natural beauty and make your lipstick appear more polished. Take your time and experiment with different lip liner techniques until you find the one that best suits your features. Remember, practice makes perfect!
• Gently exfoliate your lips to remove dry or dead skin cells
• Use a lip liner that matches your natural lip color or lipstick shade
• Outline your top lip, following the natural shape
• Overline or underline certain areas if you have uneven lip contours
• Follow the natural lip line for the bottom lip and ensure even application of liner
• Enhance your natural beauty by properly defining your lip shape
• Experiment with different lip liner techniques to find what suits you best
• Remember, practice makes perfect!
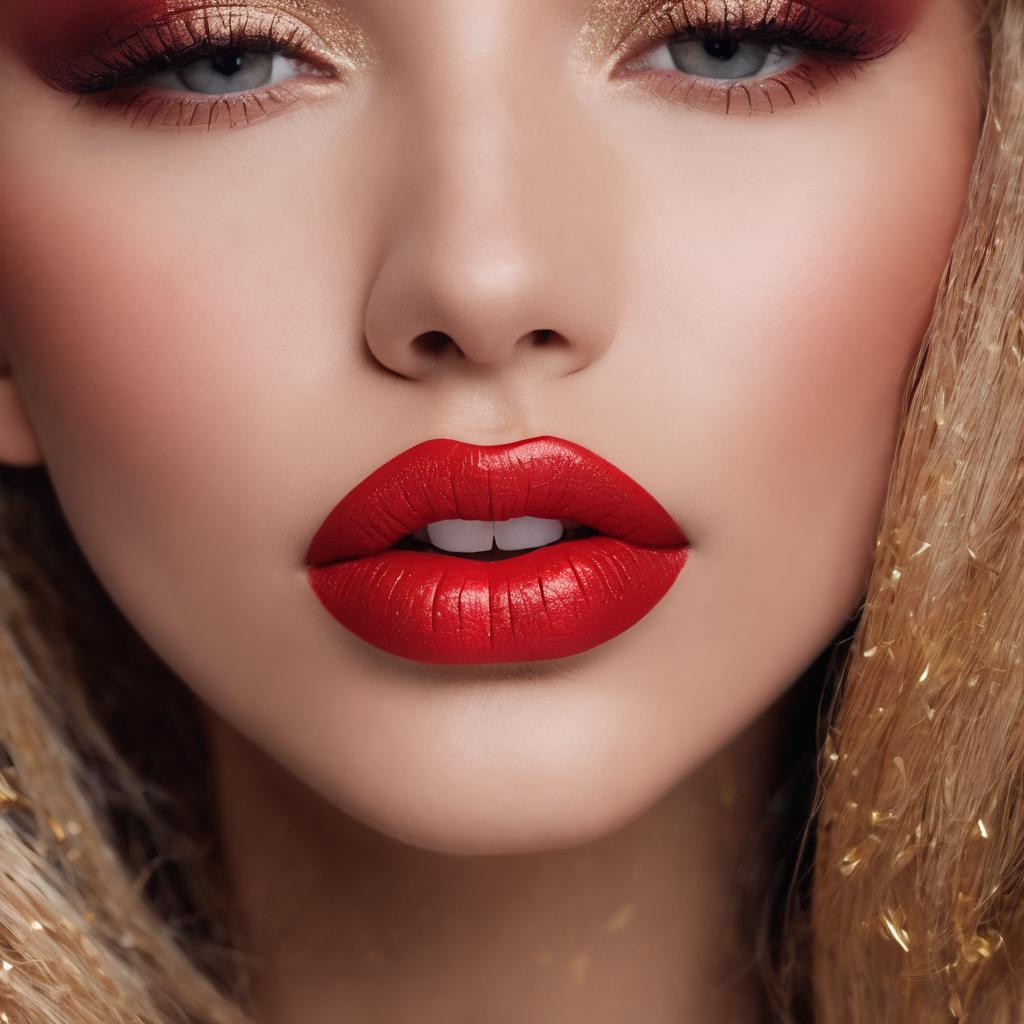
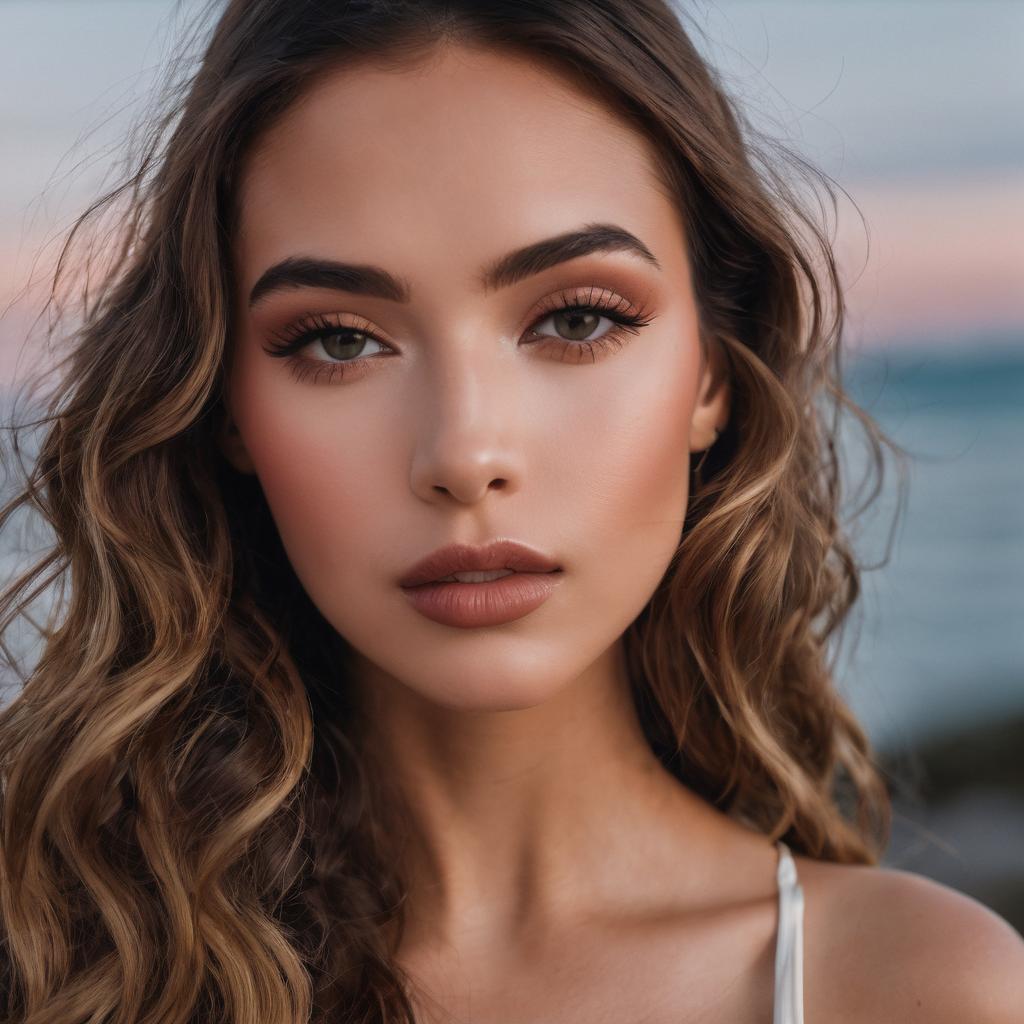
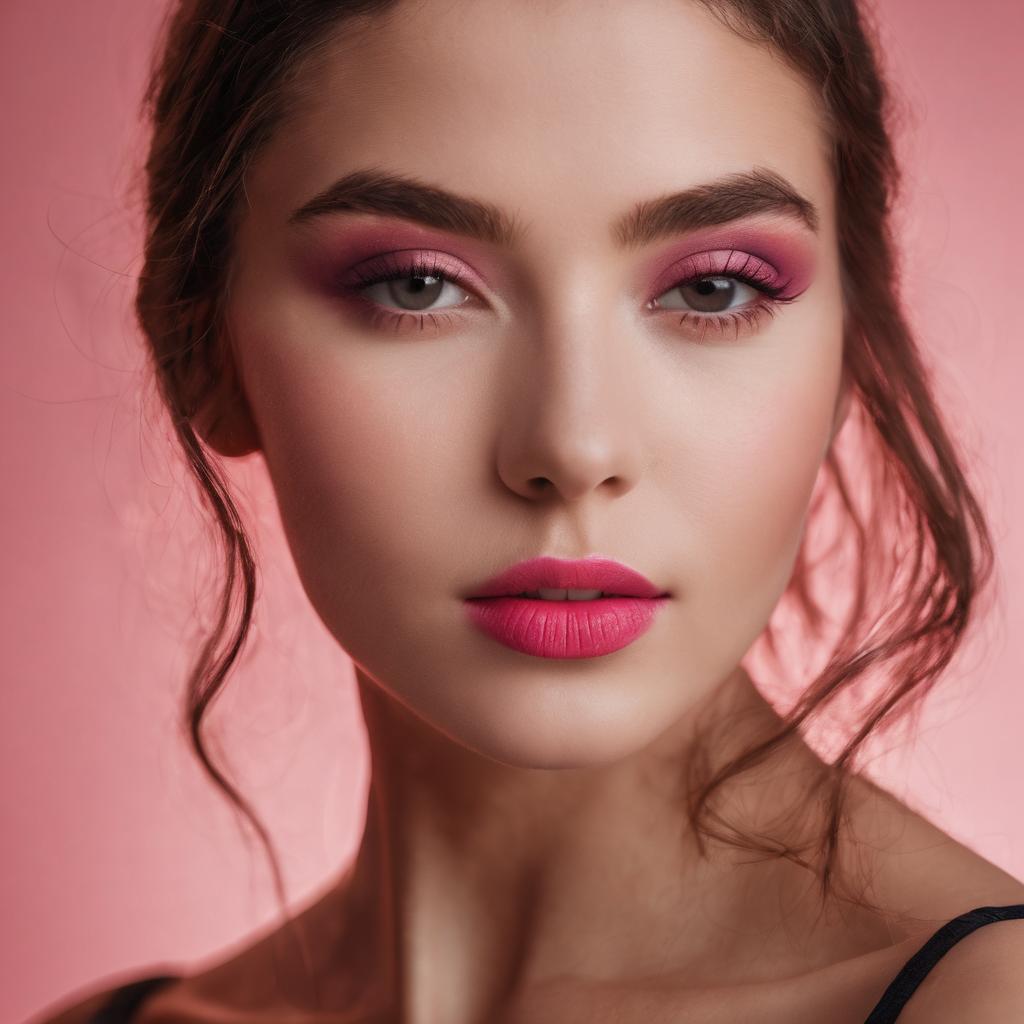
Selecting the Perfect Lipstick Shade
When it comes to selecting the perfect lipstick shade, it’s important to consider both your skin tone and personal style. One of the most basic guidelines is to choose a shade that complements your undertone. Those with warm undertones should opt for lipsticks in shades of coral, peach, or bronze, as these hues will enhance their natural warmth. On the other hand, individuals with cool undertones should lean toward pink, berry, or plum shades, as they will bring out the coolness in their complexion. If you have a neutral undertone, lucky you! You can experiment with a wide range of colors and find what suits you best. Remember, finding the right lipstick shade may require some trial and error, so don’t hesitate to sample different options and see what brings out the best in you.
In addition to undertones, it’s also important to consider your personal style and the look you want to achieve. If you prefer a natural, everyday lip, opt for nude or MLBB (my lips but better) shades that are close to your natural lip color. These shades will enhance your lips without drawing too much attention. For those who like to make a statement or have a bold, glamorous look, opt for vibrant reds, deep berries, or even unconventional shades like blue or green. These dramatic colors can add a pop of color and create a striking makeup look. Ultimately, the perfect lipstick shade is one that makes you feel confident and beautiful, so trust your own judgment and have fun exploring different colors and finishes.
• For warm undertones, choose shades of coral, peach, or bronze
• Cool undertones should lean towards pink, berry, or plum shades
• Those with neutral undertones have the freedom to experiment with a wide range of colors
• Don’t be afraid to sample different options and find what suits you best
• Consider your personal style and the look you want to achieve when selecting a lipstick shade
• Nude or MLBB shades are great for a natural everyday lip look
• Vibrant reds, deep berries, or unconventional shades like blue or green can create a bold and glamorous look
• Ultimately, choose a shade that makes you feel confident and beautiful
Applying Lipstick with Precision
To achieve a precise lipstick application, start by outlining the shape of your lips with a lip liner that matches the shade of your lipstick. Gently trace along the natural contours of your lips, making sure to stay within the lines for a neat and defined look. This step not only helps to prevent your lipstick from bleeding or feathering, but also creates a clean base for the color to adhere to.
Once you’ve outlined your lips, begin filling them in with your chosen lipstick. To achieve the most precise application, it’s recommended to use a lip brush. Dip the brush into the lipstick and carefully apply it to the center of your lips, working your way towards the outer corners. Take your time and use small, controlled strokes to ensure that the color is evenly distributed. For a more intense look, apply a second coat after the first one has dried. Finish off by blotting your lips with a tissue to remove any excess product and to help set the color in place.
• Start by outlining the shape of your lips with a matching lip liner
• Gently trace along the natural contours of your lips, staying within the lines
• Prevents lipstick from bleeding or feathering and creates a clean base for color
• Fill in your lips using a lip brush for precise application
• Dip the brush into the lipstick and apply it to the center of your lips, working outward
• Use small, controlled strokes to ensure even distribution of color
• Apply a second coat for a more intense look after the first coat has dried
• Blot your lips with a tissue to remove excess product and set the color in place.
Creating a Gradient Lip Look
To achieve a gradient lip look, start by choosing two complementary lipstick shades. One should be darker than the other to create the desired ombre effect. Begin by applying the lighter shade all over your lips as a base. Make sure to cover them evenly, reaching the corners and edges for a seamless finish.
Next, take the darker shade and focus on the inner part of your lips. Using a lip brush or your fingertip, gently dab the color towards the center, leaving the outer edges lighter. Gradually blend the two shades where they meet, ensuring a smooth transition. This technique not only adds dimension to your lips but also creates a playful and modern look.
Remember to experiment with different color combinations to find the perfect gradient for your skin tone and personal style. Don’t be afraid to try bold hues or subtle variations – the gradient lip look allows for endless creativity and customization. Whether you prefer a soft nude ombre or a vibrant blend of colors, this technique is sure to make a statement and leave an impression.
• Choose two complementary lipstick shades, one darker than the other
• Apply the lighter shade all over your lips as a base
• Ensure even coverage and reach the corners and edges for a seamless finish
• Take the darker shade and focus on the inner part of your lips
• Use a lip brush or fingertip to gently dab the color towards the center
• Leave the outer edges lighter to create a gradient effect
• Gradually blend the two shades where they meet for a smooth transition
• Experiment with different color combinations to find what suits your skin tone
and personal style
• Don’t be afraid to try bold hues or subtle variations
• The gradient lip look allows for endless creativity and customization
Adding Lip Gloss for Extra Shine
Lip gloss can be a game-changer when it comes to adding an extra touch of shine to your lips. Whether you prefer a subtle, natural look or a bold, statement lip, lip gloss can provide that glossy, dewy finish that instantly transforms your overall makeup look. The great thing about lip gloss is that it can be applied on its own or on top of your favorite lipstick, giving you the flexibility to customize your desired level of shine.
To apply lip gloss for that extra shine, start by prepping your lips. Make sure they are well-hydrated and exfoliated to ensure a smooth application. Next, choose a lip gloss shade that complements your natural lip color or the lipstick you are wearing. Using the applicator wand, start at the center of your lips and swipe the gloss outward, following the shape of your lips. If you prefer a more precise application, you can use a lip brush for better control. Be sure to avoid applying too much product, as it can make your lips look overly glossy and feel sticky. With just a few simple steps, you can achieve a beautiful, glossy finish that adds that extra shine to your lips.
• Lip gloss can add an extra touch of shine to your lips
• It can be applied on its own or on top of lipstick for a customized look
• Prepping your lips is important before applying lip gloss
• Choose a shade that complements your natural lip color or lipstick
• Start at the center of your lips and swipe outward for even application
• Use a lip brush for more precise application if desired
• Avoid applying too much product to prevent overly glossy and sticky lips
Ensuring Long-lasting Lip Color
To ensure that your lip color stays put all day long, there are a few tried and true techniques you can incorporate into your routine. One of the key steps is to start with a lip primer. This product creates a smooth base for your lipstick and helps it adhere better to your lips, making it last longer. Simply apply a thin layer of lip primer onto your lips before applying any other lip products, and let it dry for a few seconds before proceeding with the rest of your makeup application.
Another important aspect of long-lasting lip color is to properly set your lipstick. After applying your chosen shade, gently blot your lips with a tissue to remove any excess product. This step helps to prevent smudging and ensures that the color sets properly. To further enhance the longevity of your lip color, you can also dust a bit of translucent powder over your lips. This helps to mattify the finish and lock in the color for extended wear. Just be sure to only use a small amount of powder and blend it evenly for a seamless look.
• Start with a lip primer to create a smooth base for your lipstick
• Apply a thin layer of lip primer before any other lip products
• Let the lip primer dry for a few seconds before proceeding with makeup application
• Gently blot your lips with a tissue after applying lipstick to remove excess product
• Blotting helps prevent smudging and ensures proper setting of the color
• Dust translucent powder over your lips to enhance longevity and mattify the finish
• Use a small amount of powder and blend evenly for seamless look
Removing Lip Makeup Properly
To effectively remove lip makeup, it is essential to use the right products and techniques. Start by choosing a gentle makeup remover that is specifically formulated for the delicate skin on your lips. Look for products that contain moisturizing ingredients to prevent dryness or irritation.
When applying the makeup remover, use a cotton pad or a soft cloth, and gently swipe it over your lips in a circular motion. Avoid scrubbing or rubbing too harshly, as this can cause damage to the skin. Make sure to remove all traces of lipstick, lip liner, and any other lip products that you have applied.
To ensure thorough removal, you can also use a lip scrub or a soft toothbrush to gently exfoliate your lips. This will help to remove any remaining product or dead skin cells, leaving your lips smooth and clean. Remember to follow up with a lip balm or lip moisturizer to keep your lips hydrated and nourished after the makeup removal process.
• Choose a gentle makeup remover specifically formulated for lips
• Look for products with moisturizing ingredients to prevent dryness or irritation
• Use a cotton pad or soft cloth to apply the makeup remover
• Gently swipe in a circular motion, avoiding harsh scrubbing or rubbing
• Make sure to remove all traces of lipstick, lip liner, and other lip products
• Consider using a lip scrub or soft toothbrush for thorough removal and exfoliation
• Follow up with a lip balm or moisturizer to hydrate and nourish the lips after removal.