Introduction
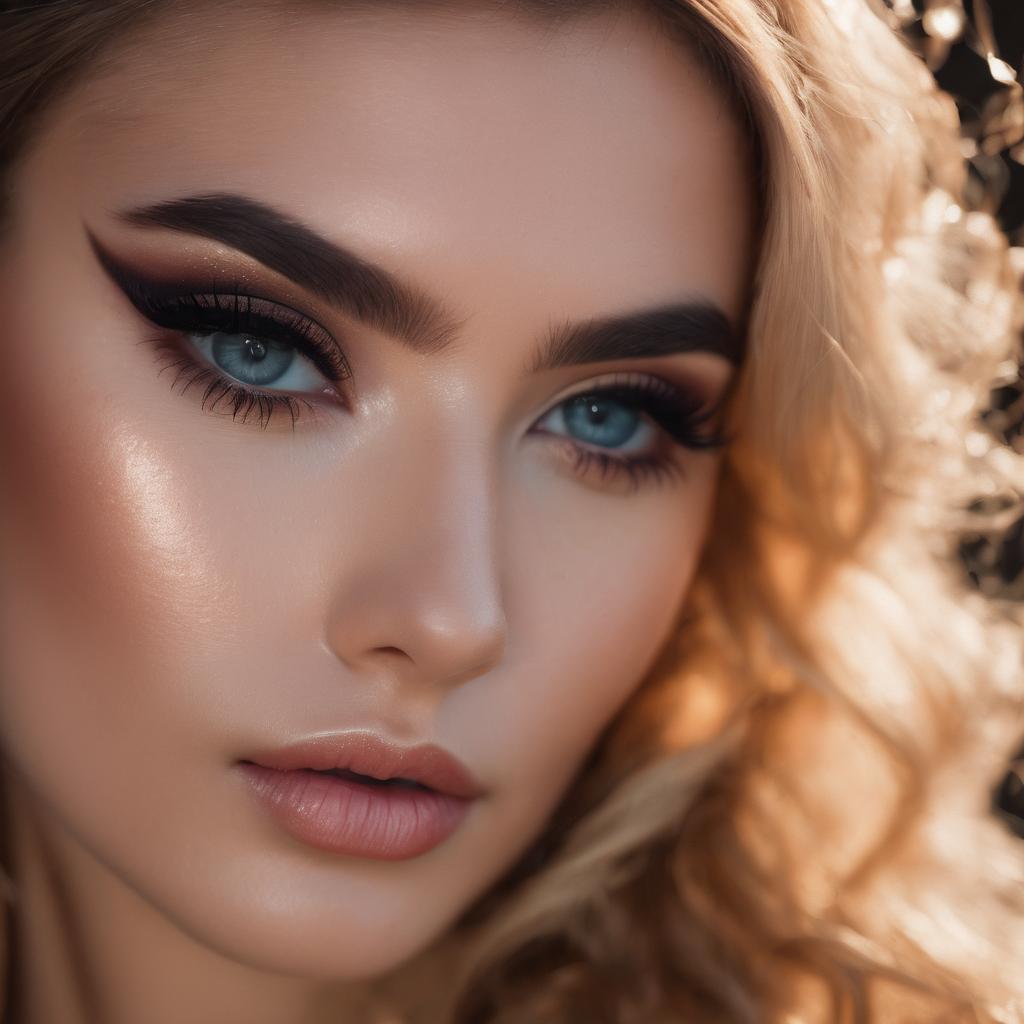
Eye makeup is one of the most intimidating parts of putting on makeup. It’s also one of the most important parts, because it can make or break a look. When you master eye makeup, however, you’ll be able to pull off so many different looks—from professional and polished to dramatic and glamorous! In this tutorial, I’ll walk through all the steps involved in creating stunning eyes that will be sure turn heads wherever you go:
The first rule of eye makeup is to start with a clean canvas.
- Apply a primer to your lids and under eye area. This will help keep your makeup in place all day long, so you don’t have to worry about smudging or fading.
- Use a makeup remover to remove any leftover mascara or eyeshadow from the day before (or even if it’s still fresh). This step is crucial for creating a clean canvas on which you can apply new products without having them mix together on top of each other!
- Wash your face with a facial cleanser, then moisturize around your eyes with an eye cream or gel moisturizer that contains hyaluronic acid–it’ll help keep those fine lines at bay!
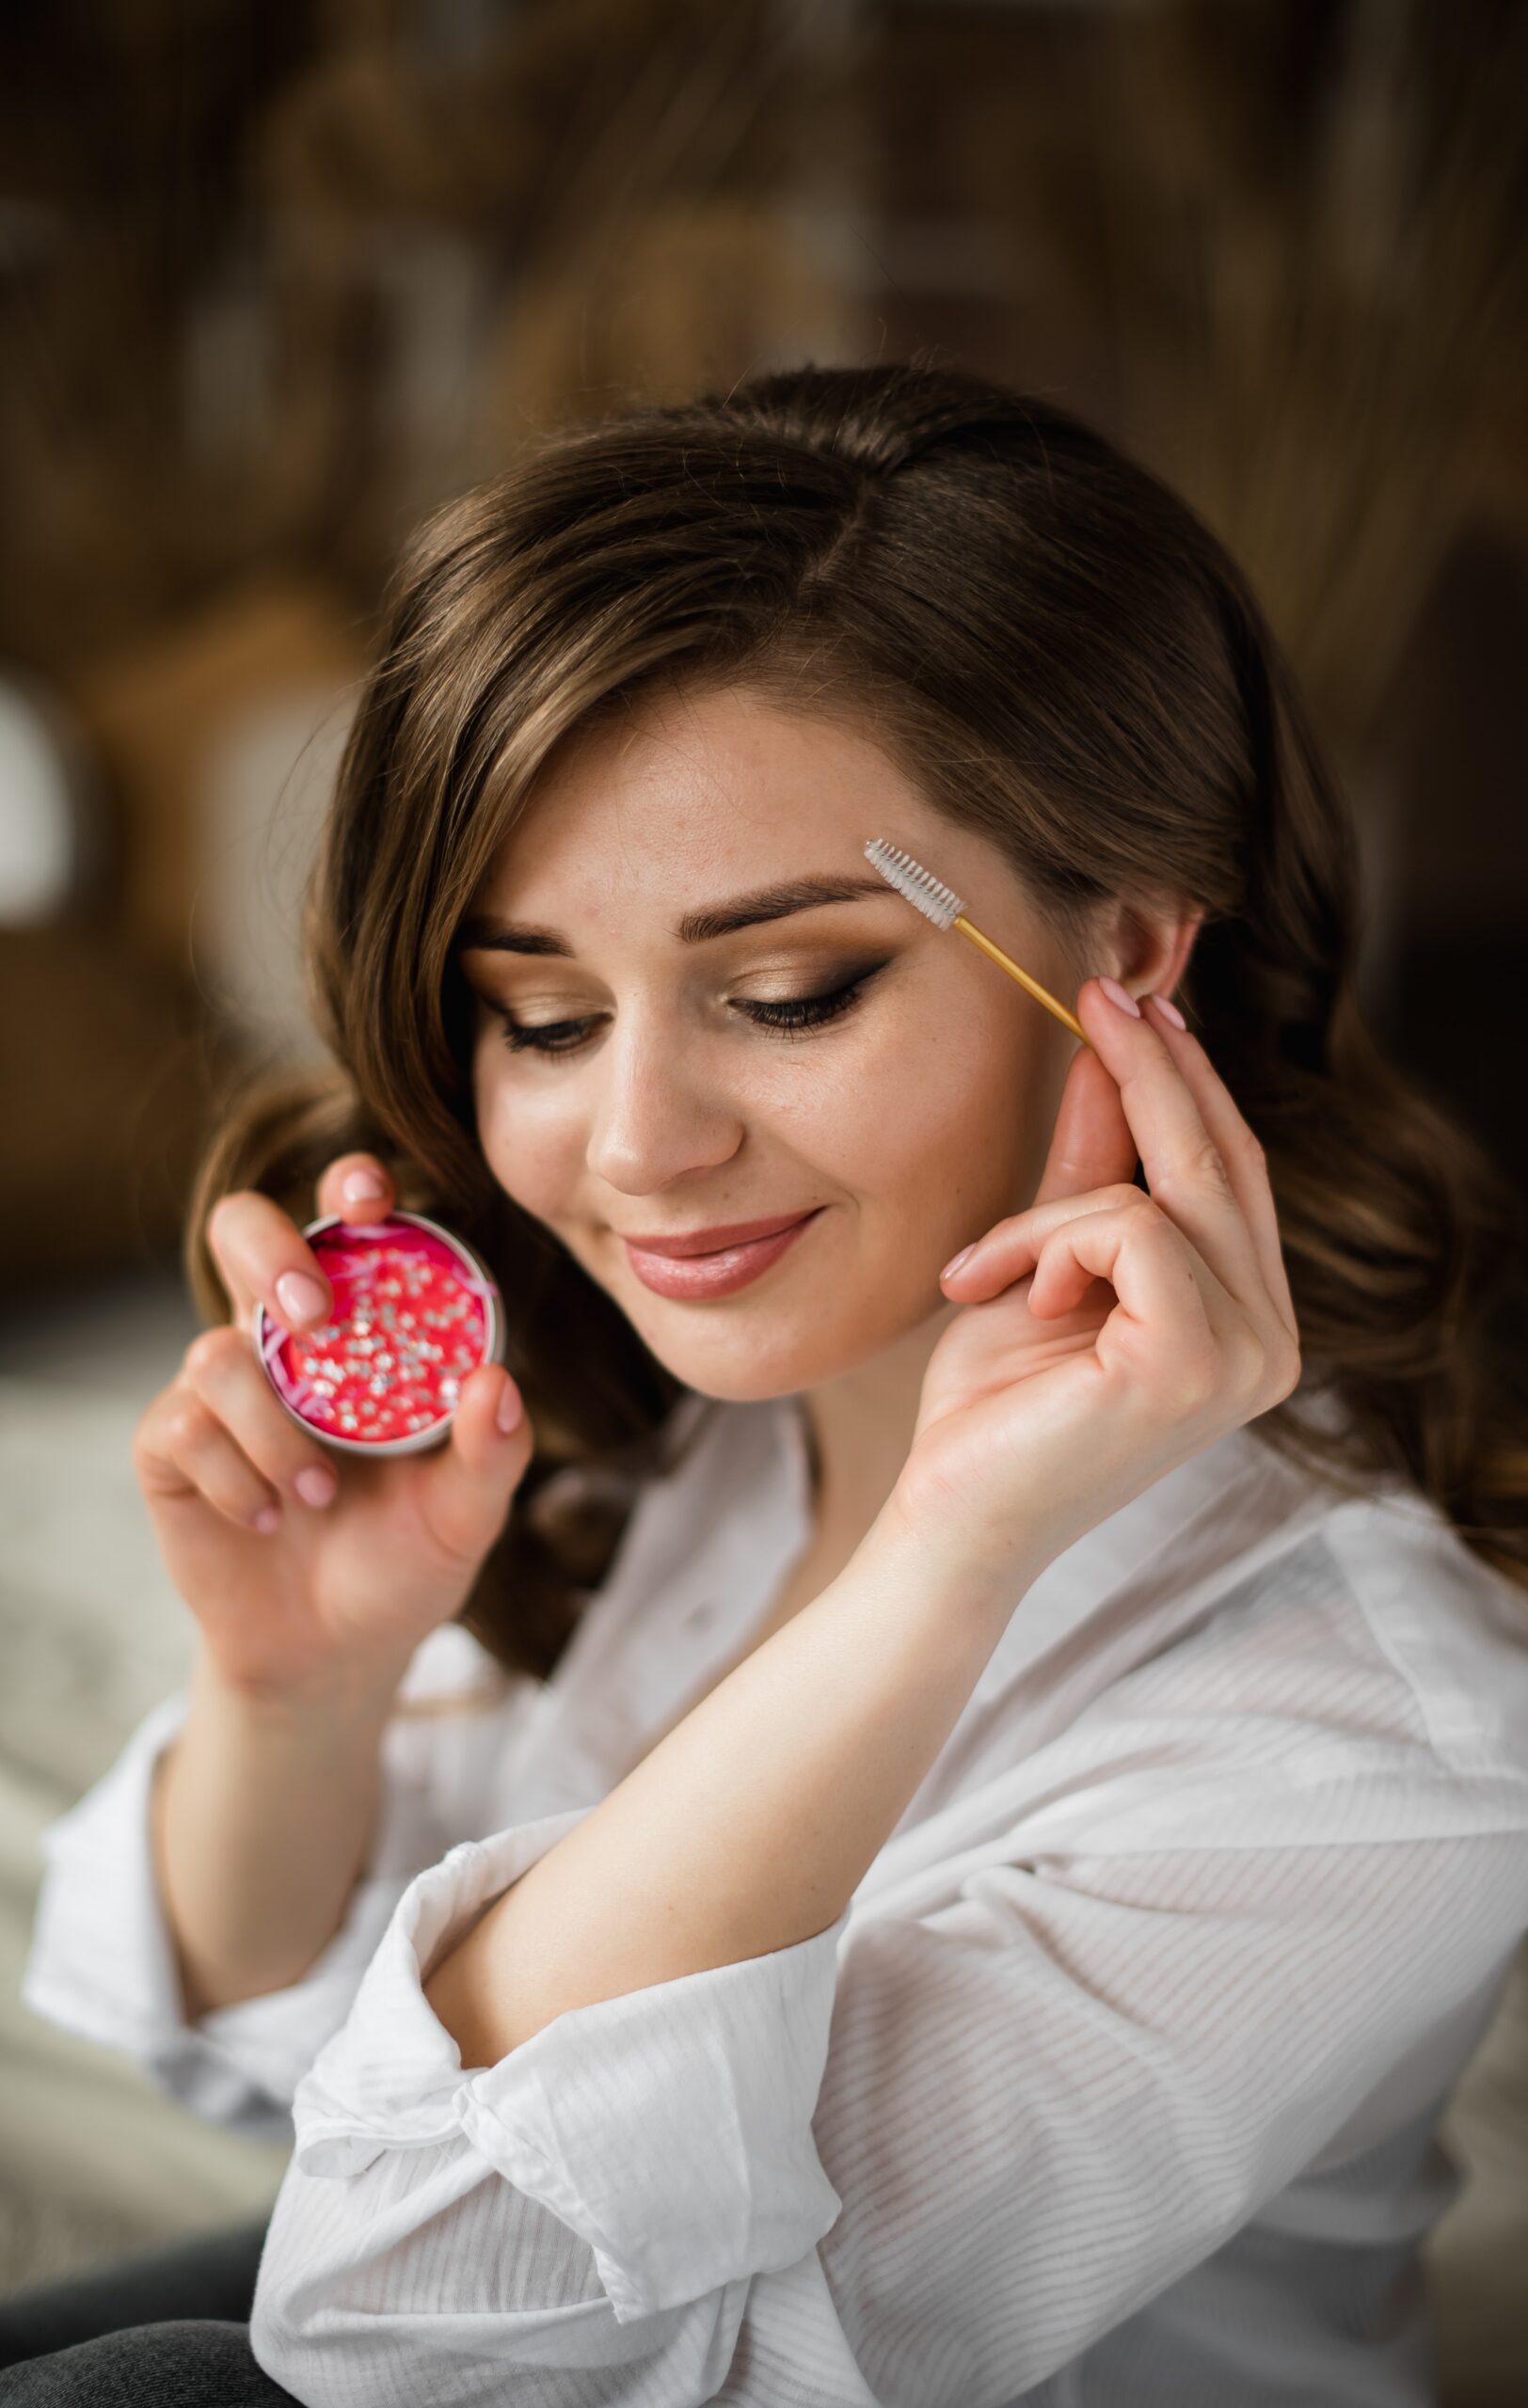
Get your eyes ready by applying a primer to your lids and under eye area.
Before you start, it’s important to prep your eyes with a primer. Primers help to keep your eyeliner and eyeshadow in place, which means that they won’t crease or fade throughout the day. They also give you an even canvas on which to apply your makeup so that it looks professional and polished instead of messy and uneven.
Primers come in different formulas: some are thick like moisturizers; others are thin like lotions or serums (or even water!). If you’re unsure which one is best for you, ask your friendly neighborhood beauty expert!
Use an eyeliner pencil or gel liner to draw a thin line along the upper lash line.
- If you’re using a pencil eyeliner, draw the line with short, light strokes.
- If you’re using a brush or gel liner, apply the product with long strokes.
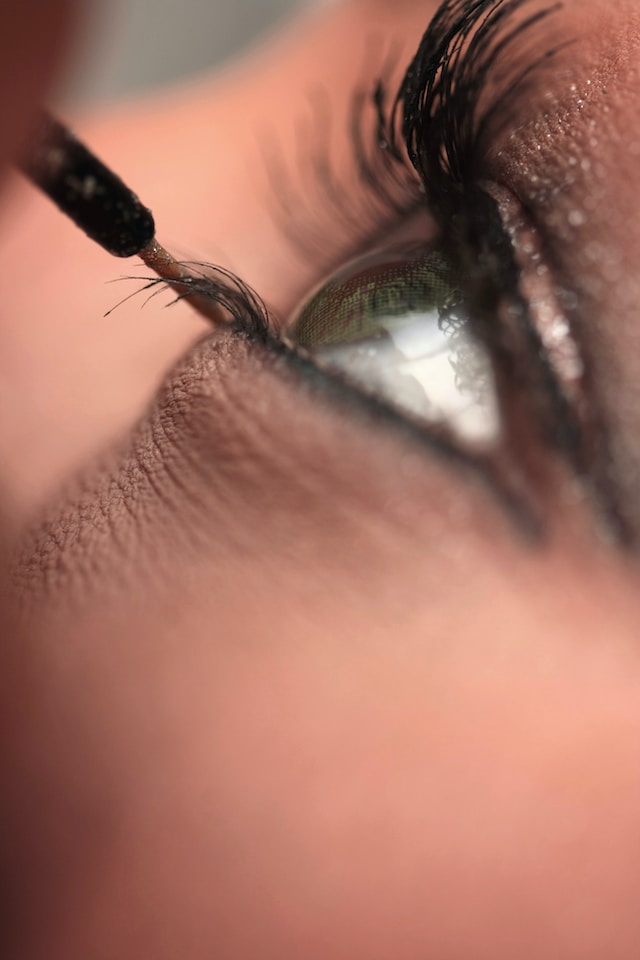
Apply a light layer of mascara to your upper lashes.
- Use a thin brush and start from the root of your lashes, wiggling it slightly as you go along. This will separate them and create volume without clumping them together in an unattractive way. Repeat until you have achieved your desired look!
Use an eyeshadow color that’s similar to your skin tone (or slightly lighter) to highlight the inner corners of your eyes.
Use a color that’s similar to your skin tone (or slightly lighter) for this step. If you’re going for a natural look and want to keep things simple, try using one of these three shades:
- A light pink or beige works well on fair skin tones; it will make blue eyes pop!
- A taupey brown works well on medium complexions; it will give green eyes definition without being too harsh or obvious about it.
- A rich chocolate brown works well on darker complexions; it gives hazel eyes depth without being overpowering in any way.
Use an eyeshadow color that is similar to the color of your eyes, but slightly darker than them, as an eyelid color with a matte finish.
The next step is to choose an eyeshadow color that is similar to the color of your eyes, but slightly darker. For example, if your eyes are blue, you should use a medium-toned brown as an eyelid color with a matte finish (not shimmery). Apply it with a brush and blend well so there are no harsh lines between them.
Blend the two shadows together for a seamless transition from the lightest color on the inner corner of your eyes, to the darkest color on your lids.
Blend the two shadows together for a seamless transition from the lightest color on the inner corner of your eyes, to the darkest color on your lids. Blend well with your base eyeshadow so there are no harsh lines between them.
Choose one more shade deeper than your base eyeshadow and apply it in the crease of your eyelid. Blend it well with your base eyeshadow so there are no harsh lines between them. Repeat this step every time you apply a new shade on top of it until you reach your desired depth of color in the crease of your eye lid. You can go as dark or as light as you want depending on what look you’re going for!
Conclusion
We hope you found this step-by-step tutorial helpful. If you have any questions or comments, please feel free to leave them below!