Understanding Your Eye Shape
There are several different eye shapes, and understanding yours can help you enhance your natural beauty with makeup. One common eye shape is the almond shape, which is characterized by eyes that are slightly longer in width than they are in height. This shape provides a balanced canvas for makeup application, allowing for a variety of different looks. Another shape that is quite popular is the hooded eye shape, where the crease of the eyelid is not readily visible. This shape can often make the eyes appear smaller, but with the right techniques, you can create the illusion of larger, more defined eyes.
• Almond shape: Eyes are slightly longer in width than height
– Provides a balanced canvas for makeup application
– Allows for a variety of different looks
• Hooded eye shape: Crease of the eyelid is not readily visible
– Can make eyes appear smaller
– Techniques can create illusion of larger, more defined eyes
Prepping Your Eyes for Makeup Application
Before applying eye makeup, it is essential to prepare your eyes to ensure a flawless and long-lasting look. The first step in prepping your eyes is to cleanse them thoroughly. Use a gentle cleanser or makeup remover specifically formulated for the eye area to remove any dirt, oil, or remnants of previous makeup. Be gentle while cleansing, as the skin around the eyes is delicate and prone to damage.
Once your eyes are clean, it is important to moisturize the eye area. Apply a lightweight eye cream or gel to hydrate and nourish the skin. This step not only helps to keep the delicate skin around the eyes hydrated and supple but also provides a smooth canvas for makeup application. Allow the moisturizer to fully absorb before proceeding with the next step. By properly prepping your eyes, you are setting the stage for a flawless and long-lasting eye makeup application.
• Use a gentle cleanser or makeup remover specifically formulated for the eye area
• Be gentle while cleansing to avoid damaging the delicate skin around the eyes
• Remove any dirt, oil, or remnants of previous makeup from your eyes
• After cleansing, moisturize the eye area with a lightweight eye cream or gel
• Hydrating and nourishing the skin helps create a smooth canvas for makeup application
• Allow the moisturizer to fully absorb before moving on to applying makeup
Choosing the Right Eyeshadow Colors for Your Eye Color
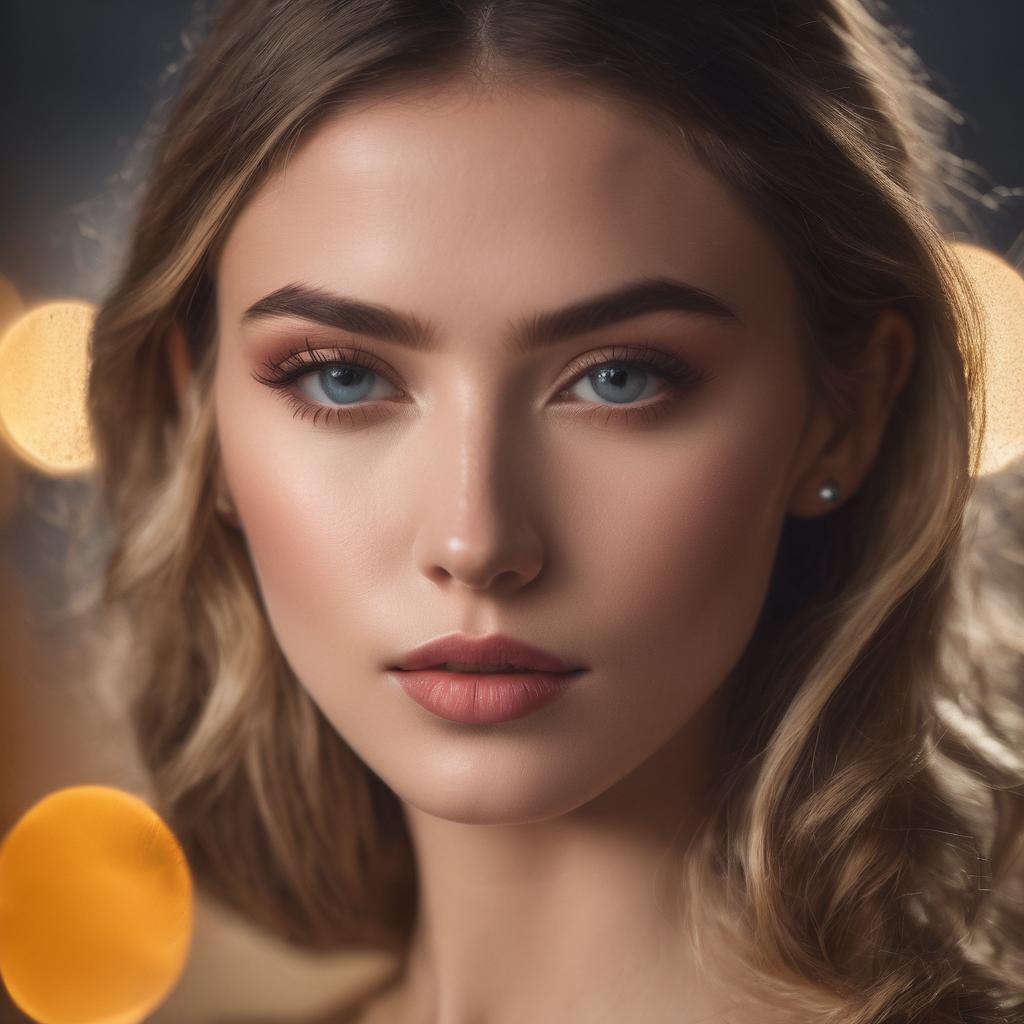
When it comes to selecting eyeshadow colors that complement your eye color, there are a few guidelines to keep in mind. For blue eyes, earthy tones such as browns, bronzes, and warm neutrals tend to bring out the brightness of the eyes. If you’re feeling adventurous, you can also experiment with shades of purple or metallic silver to create a striking contrast. Green eyes, on the other hand, can be beautifully enhanced with shades of plum, mauve, and deep purples. These colors accentuate the natural green tones of the eyes and create a captivating effect. For those with hazel eyes, earthy greens, warm browns, and golden shades can help bring out the different hues in the eyes, creating a mesmerizing look. Additionally, a touch of shimmery champagne or copper on the inner corners can add a hint of sparkle and make your eyes pop. And finally, for those with brown eyes, the options are practically limitless. Browns, golds, and bronzes can enhance the warmth in brown eyes, while blues and purples can create a striking contrast. Ultimately, the best way to find your perfect eyeshadow colors is to experiment and have fun with different shades to see what works best for you.
• Blue eyes: earthy tones such as browns, bronzes, and warm neutrals
• Blue eyes: shades of purple or metallic silver for a striking contrast
• Green eyes: shades of plum, mauve, and deep purples
• Hazel eyes: earthy greens, warm browns, and golden shades
• Hazel eyes: shimmery champagne or copper on the inner corners for sparkle
• Brown eyes: limitless options including browns, golds, bronzes
• Brown eyes: blues and purples for a striking contrast
• Experimentation is key to finding your perfect eyeshadow colors
Applying Eyeshadow: Basic Techniques for a Flawless Look
Before diving into the world of eyeshadow techniques, it is important to start with a clean canvas. Ensure that your eyelids are clean and free from any residue or oils by gently cleansing them with a mild cleanser or makeup remover. Once your lids are prepped, apply a primer specifically designed for the eyes. This step not only helps to create a smooth base for your eyeshadow but also enhances its longevity.
When it comes to applying eyeshadow, there are different techniques to achieve a flawless look. One popular approach is the “classic gradient” technique. Start by applying a light shade all over the lid as a base color. Then, use a slightly darker shade on the crease to add depth and dimension. Finally, apply the darkest shade on the outer corner and blend it towards the center of the lid. Remember, blending is key to achieving a seamless finish.
• Gently cleanse your eyelids with a mild cleanser or makeup remover to ensure they are free from residue or oils.
• Apply an eye primer specifically designed for the eyes to create a smooth base and enhance eyeshadow longevity.
• Use the “classic gradient” technique to achieve a flawless look.
• Begin by applying a light shade all over the lid as a base color.
• Add depth and dimension by using a slightly darker shade on the crease.
• Apply the darkest shade on the outer corner and blend it towards the center of the lid.
• Remember, blending is crucial for achieving a seamless finish.
Enhancing Your Eye Shape with Eyeliner
Eyeliner is a versatile makeup product that can enhance the shape of your eyes. Whether you have round eyes, almond-shaped eyes, or hooded eyes, eyeliner can help you achieve the desired effect. For those with round eyes, applying eyeliner along the upper lash line and creating a subtle wing can elongate the eyes and create a more almond-shaped appearance. On the other hand, if you have almond-shaped eyes, you can emphasize their natural beauty by applying a thin line of eyeliner along the upper lash line and extending it slightly at the outer corners. This will accentuate the shape and add definition to the eyes. Lastly, for those with hooded eyes, tightlining the upper lash line and smudging the eyeliner slightly at the outer corners can create the illusion of lifted and more open eyes. Experimenting with different eyeliner techniques can help you find the one that enhances your eye shape the most.
• For round eyes, apply eyeliner along the upper lash line and create a subtle wing to elongate the eyes and create a more almond-shaped appearance.
• Almond-shaped eyes can be emphasized by applying a thin line of eyeliner along the upper lash line and extending it slightly at the outer corners to accentuate their natural beauty.
• Hooded eyes can benefit from tightlining the upper lash line and smudging the eyeliner slightly at the outer corners to create the illusion of lifted and more open eyes.
• Experiment with different eyeliner techniques to find the one that enhances your eye shape the most.
Creating Definition with Mascara: Tips and Tricks
Mascara is a game-changer when it comes to enhancing your eye shape and creating definition. The right application technique can make your lashes appear longer, fuller, and more captivating. To achieve the desired effect, start by curling your lashes with an eyelash curler. This simple step will instantly open up your eyes and provide a great base for mascara application. Next, choose a mascara formula that suits your needs, whether you want length, volume, or both. When applying the mascara, wiggle the wand at the base of your lashes and then sweep it upwards in a zigzag motion. This will ensure that every lash is coated and separated, giving your eyes a more defined and dramatic look.
To avoid clumpy lashes, it is essential to wipe off any excess product from the mascara wand before applying it. Twirling the wand inside the tube can help remove excess product without wasting any of it. Additionally, if you have smaller or hooded eyes, it is advisable to focus on the outer corners of your lashes for a more lifted appearance. Building up the mascara gradually with multiple thin coats will also help achieve a more defined look without the risk of clumps. Remember to pay attention to the lower lashes as well, as they can also benefit from a coat or two of mascara to complete the overall defined effect.
• Curl your lashes with an eyelash curler to open up your eyes and create a base for mascara application.
• Choose a mascara formula that suits your needs, whether you want length, volume, or both.
• Wiggle the wand at the base of your lashes and sweep it upwards in a zigzag motion to coat and separate each lash.
• Wipe off any excess product from the mascara wand before applying it to avoid clumpy lashes.
• Twirl the wand inside the tube to remove excess product without wasting any of it.
• Focus on the outer corners of your lashes if you have smaller or hooded eyes for a more lifted appearance.
• Build up the mascara gradually with multiple thin coats for a more defined look without clumps.
• Don’t forget to apply mascara to your lower lashes as well for an overall defined effect.
Highlighting and Contouring Your Eyes for Added Depth
Highlighting and contouring your eyes can add depth and dimension to your overall eye makeup look. By strategically applying light and dark shadows, you can enhance your natural eye shape and create the illusion of bigger, more defined eyes.
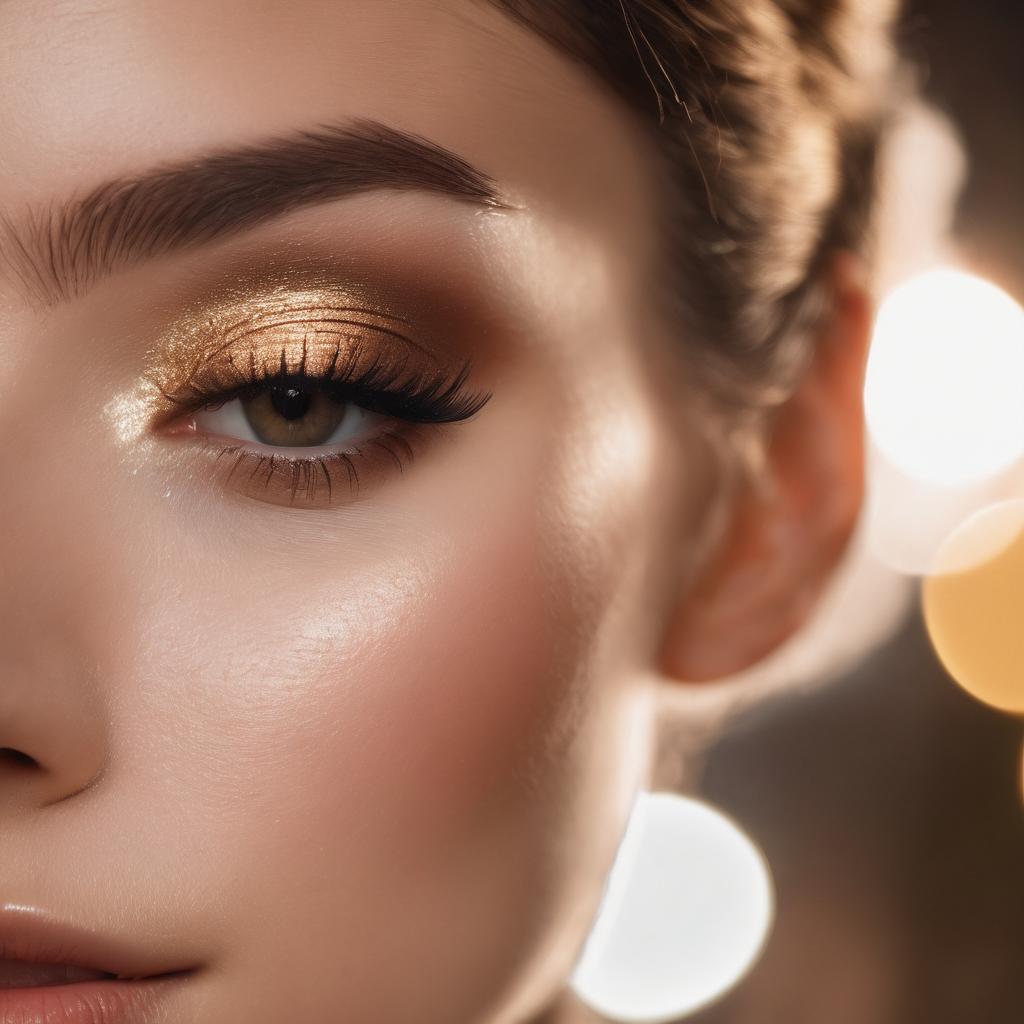
When it comes to highlighting, focus on applying a light eyeshadow shade to the inner corners of your eyes and along the brow bone. This technique will instantly brighten and open up your eyes, making them appear bigger and more awake. Additionally, dabbing a touch of highlighting shade on the center of your eyelids can give the illusion of a larger, more rounded eye shape. On the other hand, contouring involves using a slightly darker eyeshadow shade in the crease of your eyelids to create depth and dimension. By applying this darker shade along the socket line and outer corners of your eyes, you can achieve a more defined and structured eye shape. Remember to blend these shades well to achieve a seamless transition between the highlight and contour, ensuring a natural-looking effect.
• Apply a light eyeshadow shade to the inner corners of your eyes and along the brow bone
• Dab a touch of highlighting shade on the center of your eyelids for a larger, more rounded eye shape
• Use a slightly darker eyeshadow shade in the crease of your eyelids for depth and dimension
• Apply the darker shade along the socket line and outer corners of your eyes for a defined eye shape
• Blend well to achieve a seamless transition between highlight and contour
Perfecting Your Eyebrows: Shaping and Filling Techniques
Eyebrows play a vital role in framing and enhancing the overall appearance of the face. Achieving perfectly shaped and filled eyebrows can make a significant difference in your makeup look. When it comes to shaping your eyebrows, it is important to find a technique that suits your face shape and desired look. The first step is to determine your natural eyebrow shape and identify areas that need definition or correction. This can be done by using a spoolie brush to comb your eyebrow hairs upward and outward, giving you a clear view of their natural shape. Once you have a clear idea of your eyebrow shape, you can proceed with the shaping process by using a pair of tweezers, waxing, or threading. It is crucial to remember that over-plucking or shaping your brows too thin can lead to unnatural and unflattering results, so always opt for a conservative approach and remove hairs gradually.
After shaping your eyebrows, it’s time to fill them in to achieve a fuller and more defined look. Start by choosing a brow product that matches your natural eyebrow color or is one shade lighter if you prefer a softer appearance. Products such as brow pencils, powders, gels, or pomades can be used depending on personal preference and desired results. When filling in your brows, start by lightly feathering the product through your eyebrows, following their natural direction of growth. Fill in any sparse areas or gaps, keeping the application light and gradual to avoid a heavy or overly drawn-on look. Remember to use small, hair-like strokes to mimic the appearance of natural eyebrow hairs. Finally, use a spoolie brush to blend the product evenly throughout your brows for a seamless finish. With the right shaping and filling techniques, your eyebrows can truly become a standout feature, enhancing your overall beauty and completing your makeup look.
• Determine your natural eyebrow shape using a spoolie brush
• Identify areas that need definition or correction
• Shape your eyebrows using tweezers, waxing, or threading
• Avoid over-plucking or shaping too thin for natural results
• Choose a brow product that matches your natural color or one shade lighter
• Use brow pencils, powders, gels, or pomades depending on preference
• Feather the product through your brows following their natural direction of growth
• Fill in sparse areas or gaps gradually to avoid a heavy look
• Use small, hair-like strokes to mimic the appearance of natural eyebrow hairs
• Blend the product evenly with a spoolie brush for a seamless finish
• Enhance overall beauty and complete your makeup look
Adding a Pop of Color: Experimenting with Eyeliner and Eyeshadow
Adding a pop of color to your eye makeup can instantly elevate your look and add a playful touch to your overall aesthetic. Experimenting with eyeliner and eyeshadow allows you to unleash your creativity and create unique looks that reflect your personal style. Whether you prefer bold and vibrant shades or subtle and soft hues, there are endless possibilities to explore.
When it comes to eyeliner, playing with different colors can make a statement and enhance your eye shape. Opt for a bright blue or purple eyeliner to make your eyes pop or a metallic gold or silver shade for a glamorous touch. Apply the colored eyeliner along your lash line or experiment with different techniques like a winged or smudged effect to create different looks. Additionally, applying a contrasting hue on your lower lash line can add depth and make your eyes appear larger. As for eyeshadow, consider using a bold shade on your lids or incorporating a colorful hue into your crease for a striking look. Don’t be afraid to mix and match different colors to create a unique and eye-catching effect. By playing with eyeliner and eyeshadow, you can effortlessly add a pop of color to your makeup routine and showcase your artistic side.
• Experimenting with eyeliner and eyeshadow allows you to unleash your creativity and create unique looks that reflect your personal style.
• Bold and vibrant shades can make a statement and enhance your eye shape.
• Opt for bright blue or purple eyeliner to make your eyes pop, or metallic gold or silver for a glamorous touch.
• Try different techniques like winged or smudged effects to create different looks.
• Applying a contrasting hue on the lower lash line can add depth and make eyes appear larger.
• Consider using bold shades on the lids or incorporating colorful hues into the crease for a striking look.
• Don’t be afraid to mix and match different colors to create an eye-catching effect.
Removing Eye Makeup: Essential Tips for a Clean and Healthy Routine
Removing eye makeup is an essential step in maintaining a clean and healthy routine for your eyes. The delicate skin around the eyes can easily accumulate dirt, bacteria, and makeup residue, which can lead to irritation, infections, and other eye-related issues if not properly removed. To ensure a thorough and gentle removal process, there are a few key tips to keep in mind.
Firstly, it is important to choose a gentle yet effective eye makeup remover that suits your preferences and needs. Look for products that are specifically formulated for the eye area, as they tend to be more gentle and less likely to cause irritation. Oil-based removers are excellent at breaking down stubborn waterproof mascara and long-lasting eye shadows, while micellar water can be a great option for those with sensitive skin. Using a cotton pad or a soft cloth, gently sweep the remover over your closed eyelids and lashes, taking care not to rub or tug at the delicate skin. Repeat this process until all traces of makeup are removed, ensuring a clean and fresh canvas for the next day.
• Choose a gentle yet effective eye makeup remover
• Look for products specifically formulated for the eye area
• Oil-based removers are great for waterproof mascara and long-lasting eye shadows
• Micellar water is a good option for sensitive skin
• Use a cotton pad or soft cloth to gently sweep the remover over closed eyelids and lashes
• Avoid rubbing or tugging at delicate skin