I love a good matte lip. There’s something so chic and polished about the look, but most of us don’t have the luxury of being able to pull it off. The key is finding your perfect formula and creating a base that will allow it to last all day long. Here are my top tips for achieving this in five steps:
Create a base.
To begin, you’ll want to create a base. This will help your matte lipstick stay in place and prevent it from feathering out onto other areas of skin or lips. To do this, apply a moisturizing lip primer all over your lips (try the one from Rosebud Perfume Co.). You can also use a tinted balm or even just chapstick if you don’t have any on hand!
Next comes creating an outline of where you want your matte lipstick lines to be–this is where using a lip liner comes in handy! I recommend using Urban Decay’s 24/7 Glide-On Pencils in either Zero or Darkside because they’re super creamy yet still long lasting; however if those aren’t available at Sephora near me then any other brand should work well too since all liners are basically made from the same ingredients anyways (just look for ones labeled “matte”).
Now we get into actually applying product onto our lips: use either fingers or brushes depending on personal preference but make sure whatever tool(s) used has had time enough between uses so there isn’t any leftover residue left behind which could cause blemishes later down road when pressed against freshly washed face/body parts such as neck area etcetera…
Set it with powder.
To ensure your matte lip color lasts all day, be sure to set it with powder. First, use a powder that matches your skin tone. Then, apply the powder with a brush and set the edges of your lipstick by making short strokes along them. Do not overdo it!
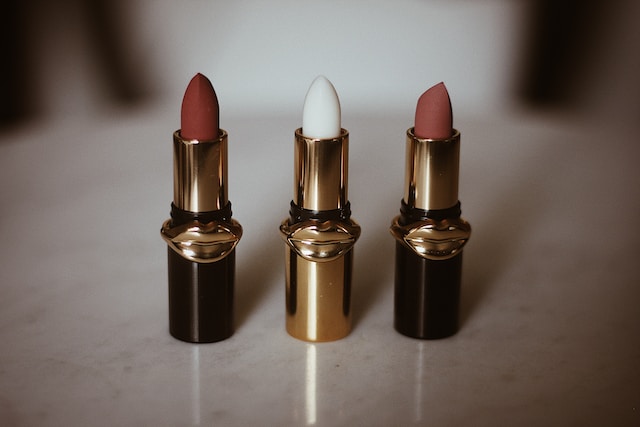
Choose your color wisely.
If you’re going for a bold color, make sure that it’s a good match for your skin tone. If you have dark skin and are trying to go for something like fuschia or red, this may not be the best option. However, if you have light skin and want to try out some of these bolder shades (like magenta), then go ahead! Just remember that they’ll look more vibrant than usual on lighter complexions.
If you want a lighter lip color but don’t want to draw attention away from those beautiful pearly whites of yours–or if maybe you just feel like adding some extra lip penciling in there–then why not try using an orange-toned pencil just around the edges? This will create definition without making anyone think ” Did she just eat/drink something crazy?”
Hydrate with balm.
As you apply your lipstick, don’t forget to use a lip balm on top of it. Not only will this keep your lips hydrated and moisturized (which helps prevent dryness), but it will also help prevent bleeding or feathering of the color. A good rule of thumb is to apply one layer first, let it set for about 30 seconds and then add another layer if necessary.*
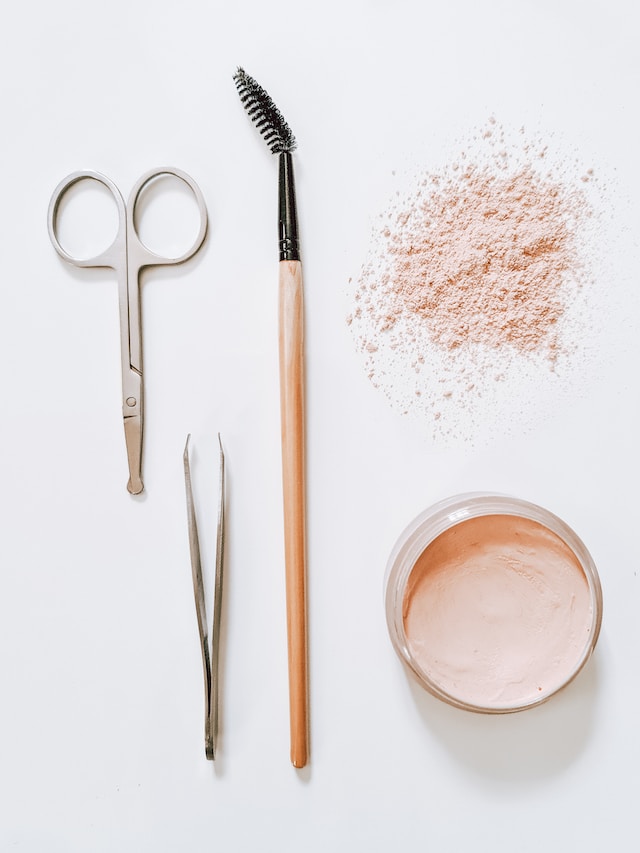
Use oil as a primer.
- Primer is important for a long lasting lip color. If you don’t have any primer, try using a lip balm with SPF or an eye shadow primer before applying your liquid lipstick.
- Another option is to use a face primer as a base for your matte lipstick. This will help keep it from smudging and fading throughout the day!
Matte lippies are all the rage, but they can be tough to work with. With these steps, you can make them last!
The first step to achieving a matte lip look that lasts is applying the color. The best way to do this is with a brush, but if you don’t have one handy, your finger will work as well. Make sure to line around your lips with a pencil or concealer first so that the edges are sharp and defined–that’ll help prevent feathering later on!
Once you’ve got your base down, it’s time for step two: preventing feathering by setting it with some powder or setting spray (I like Urban Decay All-Nighter Setting Spray). This will set the color in place so that when you eat or drink later on in the day there won’t be any smears left behind on glasses or cups!
Step three is all about making sure everything stays put during long days at work/school/anywhere else where eating isn’t allowed–and what better way than by going over everything again at night before bed? Just remember not too much product; otherwise it can look unnatural instead of just giving off an extra glowy effect like we want here 🙂
Conclusion
If you’ve struggled to find the perfect matte lipstick, we hope this guide has been helpful. We think it’s important to remember that there are no rules when it comes to beauty. There are so many different looks out there and all of them are beautiful! It’s about finding what works best for you and your style–and if that means rocking a bold color every day or wearing something more subtle every other week… well then so be it!