Contents
- 1 Smoky Eyes: Create a sultry look with smoky eyes for a night out
- 2 Metallic Eyeshadow: Add a touch of glamour with metallic eyeshadow for your evening look
- 3 Winged Eyeliner: Master the art of winged eyeliner to enhance your eyes for a night out
- 4 Glitter Eyeshadow: Get ready to shine with glitter eyeshadow for a dazzling evening makeup look
- 5 Cut Crease: Learn how to create a defined cut crease eyeshadow look for a night out
- 6 Bold Colors: Experiment with bold and vibrant eyeshadow colors to make a statement on your night out
- 7 False Lashes: Enhance your eye makeup with false lashes for a dramatic effect
- 8 Smudged Eyeliner: Achieve a smudged eyeliner look that exudes a smoky and mysterious vibe for your night out
- 9 Halo Eyes: Create a halo effect with your eyeshadow to make your eyes pop for a night out
- 10 Gradient Eyeshadow: Learn how to blend different shades of eyeshadow for a gradient effect on your eyes for a night out
Smoky Eyes: Create a sultry look with smoky eyes for a night out
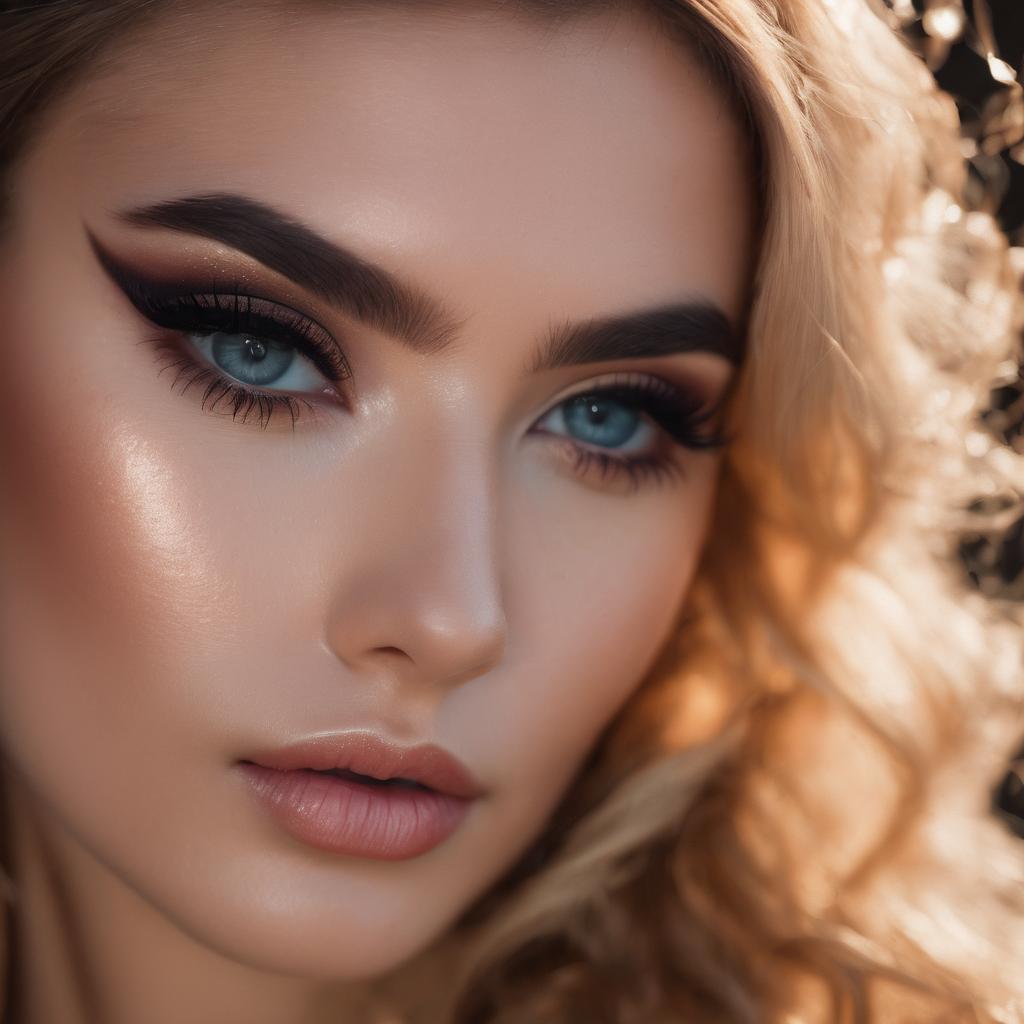
Eyes are often considered to be the windows to the soul, and what better way to enhance their mystique than with a sultry smoky eye look? Perfect for a night out, smoky eyes exude an air of seductive allure and give your gaze a captivating intensity. The key to creating this timeless makeup look lies in expertly blending different shades of eyeshadow to achieve the perfect balance of depth and drama.
To start, choose a neutral base color and apply it all over the eyelids. This will provide a seamless canvas for the darker shades that will be added later. Next, select a medium-toned eyeshadow in a shade that complements your eye color and apply it to the crease of your eyelid, using a windshield wiper motion to ensure a smooth and well-blended finish. Then, take a darker shade, such as charcoal or deep brown, and apply it to the outer corner of the eye and along the upper and lower lash lines. Use a small brush to gently smudge the color, creating a soft and smoky effect. Finish off the look by highlighting the inner corners and brow bone with a shimmery eyeshadow to add a touch of glamour.
• Start by applying a neutral base color all over the eyelids
• Choose a medium-toned eyeshadow that complements your eye color and apply it to the crease of your eyelid
• Use a windshield wiper motion to ensure a smooth and well-blended finish
• Apply a darker shade, such as charcoal or deep brown, to the outer corner of the eye and along the upper and lower lash lines
• Gently smudge the color with a small brush for a soft and smoky effect
• Highlight the inner corners and brow bone with shimmery eyeshadow for added glamour
Metallic Eyeshadow: Add a touch of glamour with metallic eyeshadow for your evening look
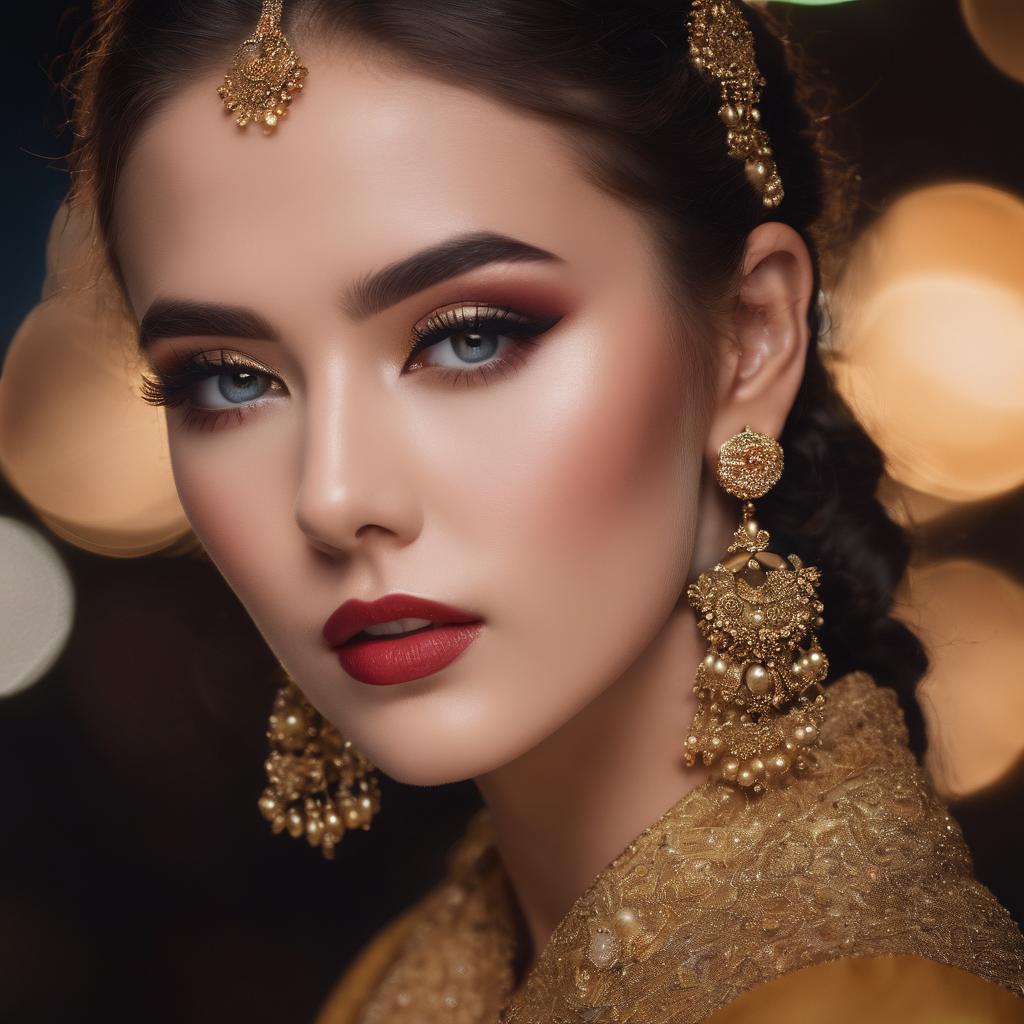
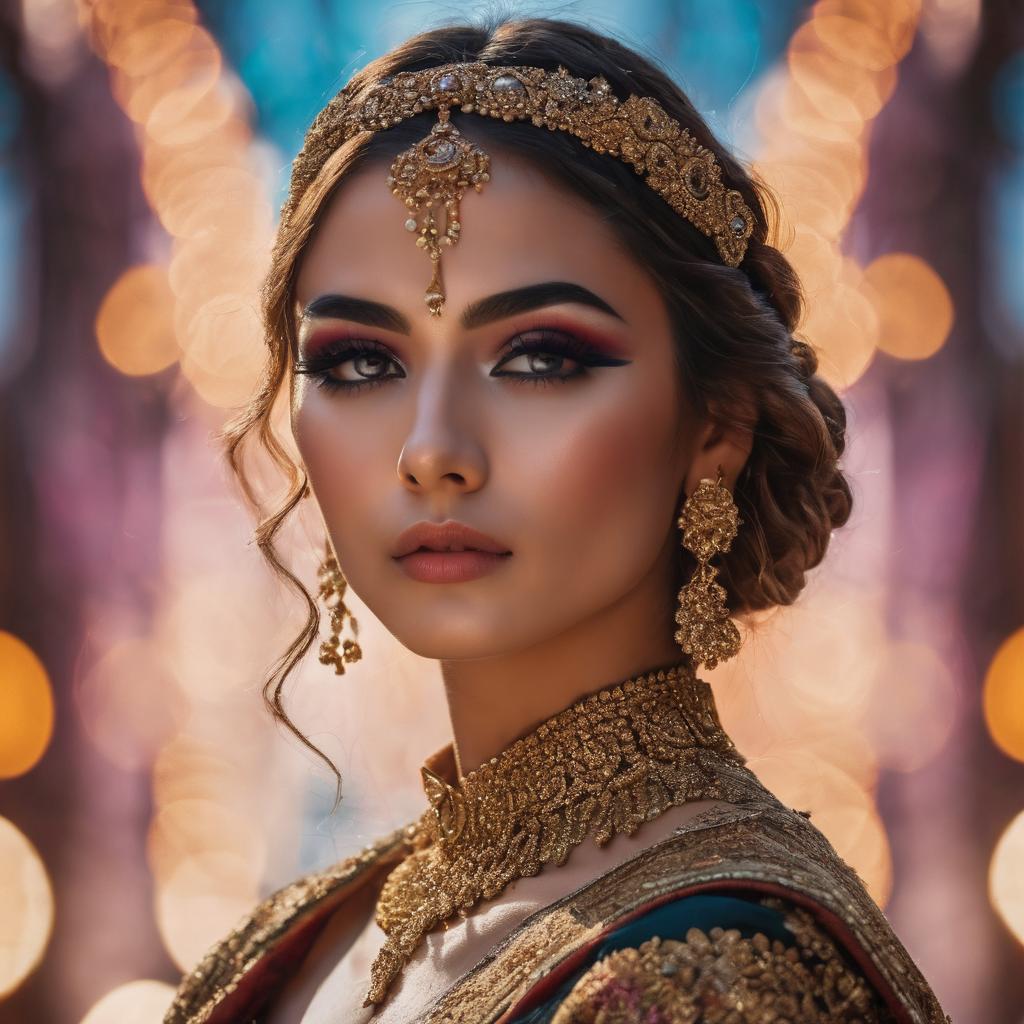
Metallic eyeshadow is a popular choice for adding a touch of glamour to your evening look. Its shimmery and reflective finish catches the light, instantly elevating your eye makeup and giving it a luxurious and sophisticated feel. Whether you’re attending a formal event or going out for a night on the town, incorporating metallic shades into your eyeshadow can create a show-stopping effect that is sure to turn heads.
One of the great things about metallic eyeshadow is its versatility. With a range of shades available, from soft golds and silvers to bold bronzes and coppers, you can easily find a color that complements your skin tone and personal style. The metallic finish also adds dimension to your eyes, making them appear brighter and more vibrant. To achieve a glamorous metallic eye look, simply apply the eyeshadow to your lids using a brush or your fingertips, and blend outwards for a seamless and professional finish. Finish the look with a few coats of mascara and you’re ready to shine all night long.
• Metallic eyeshadow is a popular choice for adding glamour to your evening look
• Its shimmery and reflective finish catches the light, giving your eye makeup a luxurious feel
• Incorporating metallic shades into your eyeshadow can create a show-stopping effect
• Metallic eyeshadow comes in a range of shades to complement different skin tones and styles
• The metallic finish adds dimension to your eyes, making them appear brighter and more vibrant
• Applying the eyeshadow with a brush or fingertips and blending outwards creates a seamless finish
• Finish the look with mascara for added impact
Winged Eyeliner: Master the art of winged eyeliner to enhance your eyes for a night out
Winged eyeliner is a classic makeup technique that can instantly enhance your eyes for a night out. By creating a subtle flick or a bold wing at the outer corners of your eyes, you can achieve a mesmerizing look that adds sophistication and allure to your overall makeup. The beauty of winged eyeliner lies in its versatility – it can be tailored to suit different eye shapes and personal styles. Whether you prefer a subtle and natural wing or a dramatic and bold one, mastering the art of winged eyeliner can elevate your evening makeup and make your eyes the focus of attention.
To create the perfect winged eyeliner, start by choosing the right eyeliner product for your desired look. Liquid eyeliner is often the go-to choice for achieving precise and sharp lines, while gel and pencil eyeliners can offer a softer and more smudged effect. Begin by drawing a line along your upper lash line, extending it slightly beyond the outer corner of your eye. Then, use a gentle flick motion to create the wing, angling it according to your preference. Remember to keep your strokes steady and confident to achieve a neat and professional finish. Practice is key when it comes to winged eyeliner, so don’t hesitate to experiment with different techniques and products until you find what works best for you.
• Liquid eyeliner is often used for precise and sharp lines
• Gel and pencil eyeliners can offer a softer, smudged effect
• Start by drawing a line along the upper lash line, extending it slightly beyond the outer corner of your eye
• Use a gentle flick motion to create the wing, angling it according to your preference
• Keep your strokes steady and confident for a neat finish
• Practice different techniques and products to find what works best for you
Glitter Eyeshadow: Get ready to shine with glitter eyeshadow for a dazzling evening makeup look
Glitter eyeshadow is the perfect way to add a touch of sparkle and glamour to your evening makeup look. With its shimmery particles, this type of eyeshadow can instantly elevate your appearance and make your eyes stand out. Whether you’re heading to a party, a special event, or simply want to dazzle on a night out, glitter eyeshadow is a must-have in your makeup collection.
To achieve a dazzling evening makeup look with glitter eyeshadow, start by priming your eyelids to ensure long-lasting wear. Then, choose a shade of glitter eyeshadow that complements your eye color and desired look. For a classic and timeless option, go with a neutral or champagne tone. If you’re feeling bold and adventurous, opt for vibrant colors like gold, silver, or even colorful glitters. When applying the glitter eyeshadow, use a flat eyeshadow brush or your fingertips to pack the glitter onto your lids, gently pressing it in for maximum impact. Remember, a little goes a long way, so start with a small amount and build up the intensity gradually.
• Glitter eyeshadow adds sparkle and glamour to your evening makeup look
• It instantly elevates your appearance and makes your eyes stand out
• Perfect for parties, special events, or a night out
• Priming your eyelids ensures long-lasting wear
• Choose a shade that complements your eye color and desired look
• Neutral or champagne tones are classic and timeless options
• Gold, silver, or colorful glitters are bold and adventurous choices
• Use a flat eyeshadow brush or fingertips to pack the glitter onto lids
• Gently press it in for maximum impact
• Start with a small amount and build up intensity gradually
Cut Crease: Learn how to create a defined cut crease eyeshadow look for a night out
A defined cut crease eyeshadow look is a popular choice for a night out. It creates a bold and dramatic effect that adds dimension to your eyes. To achieve this look, start by applying a neutral shade all over your eyelids as a base. Then, using a darker shade, create a line along the crease of your eye, following its natural shape. Use a small, precise brush to blend the dark shade upwards towards the brow bone, making sure to maintain a defined line at the crease. Finally, add a shimmering or metallic shade on the center of your eyelids to enhance the contrast and make your eyes pop. Finish off with eyeliner and mascara for a glamorous and captivating look.
The cut crease technique requires practice and precision, but with a little patience and the right tools, you can master it. Remember to blend the eyeshadows well to avoid any harsh lines, and use a light hand when applying the darker shade to the crease. For a more intense look, opt for deeper and more pigmented eyeshadows. Don’t be afraid to experiment with different color combinations to match your outfit or personal style. The cut crease is a versatile look that can be adapted to suit any occasion, whether it’s a night out with friends or a special event.
• Start by applying a neutral shade all over your eyelids as a base
• Use a darker shade to create a line along the crease of your eye, following its natural shape
• Blend the dark shade upwards towards the brow bone with a small, precise brush
• Maintain a defined line at the crease for added dimension
• Add a shimmering or metallic shade on the center of your eyelids to enhance contrast and make your eyes pop
• Finish off with eyeliner and mascara for a glamorous look
Tips:
– Practice and precision are key when mastering the cut crease technique
– Blend eyeshadows well to avoid harsh lines
– Use a light hand when applying darker shades to the crease
– Opt for deeper and more pigmented eyeshadows for an intense look
– Experiment with different color combinations to match your outfit or personal style
– The cut crease is versatile and can be adapted for any occasion
Bold Colors: Experiment with bold and vibrant eyeshadow colors to make a statement on your night out
Bold colors can be a fun and exciting way to make a statement with your eyeshadow on a night out. Whether you’re in the mood for a striking cobalt blue or a vibrant fuchsia, these bold hues can instantly add a pop of color and personality to your overall look. Experimenting with bold eyeshadow colors allows you to step outside of your comfort zone and showcase your unique style. Don’t be afraid to play with different combinations and layer multiple shades to create a bold and eye-catching effect. Remember, the key to pulling off bold colors is to keep the rest of your makeup minimal and let your eyes be the focal point.
When working with bold eyeshadow colors, it’s important to have the right tools and techniques to ensure a seamless application. Start by priming your eyelids to create a smooth canvas for the colors to adhere to. Using a dense eyeshadow brush, apply the bold color to the center of your lid and then blend it out towards the outer corners. To add depth and dimension, use a slightly darker shade in the crease and blend it well to avoid any harsh lines. Finish off with a coat of mascara to define your lashes and complete the look. With bold colors, it’s all about embracing your creativity and having fun with your makeup. So go ahead, experiment with different shades and let your eyes do the talking on your night out.
• Experimenting with bold eyeshadow colors allows you to showcase your unique style and make a statement.
• Bold colors like cobalt blue or vibrant fuchsia instantly add a pop of color and personality to your overall look.
• Don’t be afraid to play with different combinations and layer multiple shades for a bold and eye-catching effect.
• Keep the rest of your makeup minimal to let your eyes be the focal point when wearing bold colors.
• Start by priming your eyelids for a seamless application of bold eyeshadow colors.
• Use a dense eyeshadow brush to apply the color to the center of your lid, then blend it out towards the outer corners.
• Add depth and dimension by using a slightly darker shade in the crease, blending well to avoid harsh lines.
• Finish off with mascara to define your lashes and complete the look.
False Lashes: Enhance your eye makeup with false lashes for a dramatic effect
False lashes can add a touch of glamour to your overall eye makeup, creating a dramatic effect that is perfect for a night out. These lashes come in various styles and lengths, allowing you to choose the right ones to complement your eye shape and desired look. Whether you prefer a natural and wispy look or full and voluminous lashes, false lashes offer a way to instantly enhance your eyes and make them stand out.
To apply false lashes effectively, start by carefully measuring and trimming them to fit your eye shape. Then, apply a thin layer of lash adhesive along the lash strip and wait for a few seconds until it becomes tacky. Using tweezers or a lash applicator, carefully position the false lashes as close to your natural lash line as possible, pressing them down gently to ensure they stay in place. Finish off your eye makeup by blending your natural lashes with the false ones using mascara for a seamless and dramatic result.
• False lashes can add glamour and drama to your overall eye makeup
• They come in various styles and lengths to suit different eye shapes and desired looks
• Whether you want a natural or full, voluminous look, false lashes can enhance your eyes instantly
• Start by measuring and trimming the false lashes to fit your eye shape accurately
• Apply a thin layer of lash adhesive along the lash strip and wait for it to become tacky
• Use tweezers or a lash applicator to carefully position the false lashes close to your natural lash line
• Gently press them down to ensure they stay in place securely
• Finish off by blending your natural lashes with the false ones using mascara for a seamless result
Smudged Eyeliner: Achieve a smudged eyeliner look that exudes a smoky and mysterious vibe for your night out
Creating a smudged eyeliner look can add a touch of smokiness and mystery to your overall makeup for a night out. This technique involves softly blending and smudging the eyeliner, resulting in a sultry and seductive effect. To achieve this look, start by applying a pencil or gel eyeliner along your upper lash line, ensuring a clean and precise line. Then, using a smudge brush or a small angled brush, gently smudge the liner to soften the edges and create a smoky effect. Repeat the process on your lower lash line for even more intensity. Finish off the look with a few coats of mascara to define your lashes and complete the mysterious vibe.
When opting for a smudged eyeliner look, it’s essential to choose the right colors for your desired effect. Dark shades like black, deep brown, or charcoal grey are perfect for creating a smoky and intense look. However, you can also play with different colors to match your outfit or personal style. For a softer look, try using shades like navy or plum. Additionally, experiment with different textures, such as metallic or shimmer finishes, to add a glamorous touch to your smudged eyeliner look. Remember to keep the rest of your makeup minimal and let your smoky eyes take the center stage for a captivating and mysterious night out.
• Start by applying a pencil or gel eyeliner along your upper lash line
• Use a smudge brush or small angled brush to gently smudge the liner and create a smoky effect
• Repeat the process on your lower lash line for added intensity
• Choose dark shades like black, deep brown, or charcoal grey for a smoky and intense look
• Experiment with different colors like navy or plum for a softer look
• Try using metallic or shimmer finishes for a glamorous touch
• Keep the rest of your makeup minimal to let your smoky eyes take center stage
Halo Eyes: Create a halo effect with your eyeshadow to make your eyes pop for a night out
To make your eyes stand out and truly pop for a night out, consider creating a halo effect with your eyeshadow. This technique involves using different shades of eyeshadow to create a vibrant, halo-like shape around your eyes. By placing a lighter shade in the center of the eyelid and darker shades on the inner and outer corners, you can create a visually stunning look that enhances the depth and dimension of your eyes.
To achieve the halo effect, start by applying a primer or eyeshadow base to prepare your eyelids. Then, using a fluffy blending brush, apply a light shade of eyeshadow to the center of your eyelids. Next, choose a darker shade and apply it to the inner and outer corners of your eyes, blending it slightly into the lighter shade. Finally, blend the edges of the eyeshadow for a seamless and gradient effect. Remember to choose shades that complement your eye color and overall look. With this technique, your eyes will appear more defined, captivating, and ready to make a statement on your night out.
• Use a primer or eyeshadow base to prepare your eyelids
• Apply a light shade of eyeshadow to the center of your eyelids using a fluffy blending brush
• Choose a darker shade and apply it to the inner and outer corners of your eyes, blending it into the lighter shade
• Blend the edges of the eyeshadow for a seamless and gradient effect
• Select shades that complement your eye color and overall look
Gradient Eyeshadow: Learn how to blend different shades of eyeshadow for a gradient effect on your eyes for a night out
To achieve a stunning gradient eyeshadow look for your night out, mastering the art of blending different shades is essential. Blending allows you to seamlessly transition from one color to another, creating a beautiful gradient effect on your eyes. Start by selecting a palette with shades that complement each other and range from light to dark.
Begin by applying the lightest shade to your entire eyelid as a base. Use a fluffy blending brush to apply the next darkest shade to the crease of your eye, blending it well to avoid any harsh lines. Gradually build up the intensity by adding darker shades to the outer corner, blending them towards the center of your eyelid. Remember to blend with gentle, circular motions to ensure a soft and seamless transition between the colors. Continue this technique until you achieve the desired gradient effect. To further enhance the gradient, you can also use a clean blending brush to softly blend the edges of each shade for a more seamless finish.
Gradient eyeshadow is a versatile look that can be tailored to suit any occasion. Whether you opt for a subtle gradient with neutral tones or a dramatic gradient with bold colors, this technique will add depth and dimension to your eye makeup. Experiment with different color combinations and have fun blending to create endless possibilities for a mesmerizing look on your night out.
• Start by selecting a palette with complementary shades ranging from light to dark
• Apply the lightest shade as a base on your entire eyelid
• Use a fluffy blending brush to apply the next darkest shade to the crease of your eye, blending well to avoid harsh lines
• Gradually add darker shades to the outer corner, blending towards the center of your eyelid
• Blend with gentle circular motions for a soft and seamless transition between colors
• Use a clean blending brush to softly blend the edges of each shade for a more seamless finish
• Experiment with different color combinations for endless possibilities


