Understanding the Different Eye Shapes
There are several different eye shapes that can greatly influence the way eye makeup looks. One common eye shape is almond, which is characterized by a slightly pointed outer corner and a wider center. This shape is considered versatile and can easily pull off various eyeshadow techniques. Another eye shape is hooded, where a layer of skin partially covers the eyelid, creating a hooded effect. This shape may require specific techniques to enhance the eyes and prevent makeup from smudging. Additionally, there are round eyes, which have a curved shape with a visible crease. To elongate round eyes, techniques like applying darker shades on the outer corners can be used. Finally, there are monolid eyes, which have a flat lid without a crease. Techniques like tightlining and applying eyeshadow close to the lash line can help enhance the definition of monolid eyes and bring attention to the entire eye area. Ultimately, understanding your eye shape can greatly assist in selecting the most flattering makeup looks and techniques.
• Almond-shaped eyes: slightly pointed outer corner, wider center
– Versatile shape that can pull off various eyeshadow techniques
• Hooded eyes: layer of skin partially covers eyelid, creating a hooded effect
– Specific techniques needed to enhance eyes and prevent smudging
• Round eyes: curved shape with visible crease
– Elongate round eyes by applying darker shades on outer corners
• Monolid eyes: flat lid without a crease
– Enhance definition with tightlining and close-to-lash line eyeshadow application
Understanding your eye shape helps in selecting flattering makeup looks and techniques.
Prepping Your Eyelids for Makeup Application
Prepping your eyelids for makeup application is a crucial step in achieving a flawless eye look. Before diving into the world of eyeshadows and liners, it’s important to create the perfect canvas. Start by cleansing your eyelids with a gentle eye makeup remover to eliminate any oil, dirt, or leftover product. This will ensure that your eyeshadow adheres smoothly and lasts longer throughout the day.
After cleansing, apply a lightweight eye cream or primer specifically designed for the delicate eye area. This step not only hydrates and nourishes the skin but also helps to create a smooth, even surface for your eyeshadow. Using your ring finger, gently dab the cream or primer onto the eyelids and allow it to absorb for a few minutes. This will help to prevent creasing and ensure that your eyeshadow stays in place. With a well-prepped canvas, you’re now ready to explore the world of eyeshadows and create stunning eye makeup looks.
• Start by cleansing your eyelids with a gentle eye makeup remover
• Eliminate any oil, dirt, or leftover product on your eyelids
• Ensures that your eyeshadow adheres smoothly and lasts longer throughout the day
• Apply a lightweight eye cream or primer specifically designed for the delicate eye area
• Hydrates and nourishes the skin while creating a smooth, even surface for your eyeshadow
• Gently dab the cream or primer onto the eyelids using your ring finger
• Allow it to absorb for a few minutes to prevent creasing and ensure long-lasting eyeshadow application
• Now you’re ready to explore different eyeshadows and create stunning eye makeup looks
Choosing the Right Eyeshadow Colors for Your Eye Color
When it comes to choosing the right eyeshadow colors for your eye color, understanding the color wheel can be a helpful tool. The basic principle is to select shades that contrast with your eye color, making them stand out. For those with blue eyes, warm tones such as gold, bronze, and copper can make your eyes pop. Green eyes can benefit from purples, plums, and earthy tones like brown and taupe. If you have brown eyes, you have the most flexibility as almost any shade can complement your eye color. Experimenting with jewel tones, like emerald and sapphire, can give your eyes a stunning depth.
In addition to contrasting colors, selecting shades based on your skin tone can also enhance the overall effect. Those with fair skin can opt for softer, more delicate hues, while medium to dark skin tones can rock vibrant and bold shades. It’s essential to consider the undertones of your skin as well. Cool undertones, like pink or blue, pair well with cool-toned eyeshadows, such as shades of blue and silver. On the other hand, warm undertones, like yellow or peach, suit warm-toned eyeshadows, like oranges and golds. Remember, these guidelines are merely starting points, and the key is to have fun and experiment until you find the perfect eyeshadow colors that make your eyes shine.
• Blue eyes: gold, bronze, copper
• Green eyes: purples, plums, browns, taupes
• Brown eyes: any shade works well
• Experiment with jewel tones like emerald and sapphire for added depth
• Fair skin: softer, delicate hues
• Medium to dark skin tones: vibrant and bold shades
• Consider undertones of your skin:
– Cool undertones (pink or blue): cool-toned eyeshadows (blue, silver)
– Warm undertones (yellow or peach): warm-toned eyeshadows (oranges, golds)
Remember to have fun and experiment until you find the perfect eyeshadow colors that make your eyes shine.
Applying Eyeshadow Base for Long-Lasting Results
When it comes to achieving long-lasting eyeshadow looks, one often overlooked step is applying an eyeshadow base. This essential product creates a smooth canvas on your eyelids, ensuring that your eyeshadow stays vibrant and crease-free throughout the day.
To apply an eyeshadow base, start by cleansing your eyelids to remove any oils or residue. Then, using your finger or a small brush, gently pat a thin layer of the base onto your eyelids. Be sure to cover the entire lid, from the lash line to the brow bone, to ensure even application. Allow the base to dry for a few seconds before moving on to the next step in your eyeshadow routine.
By incorporating an eyeshadow base into your makeup routine, you can prolong the wear of your eyeshadow and prevent it from fading or creasing. This step is especially important if you have oily eyelids or if you’ll be wearing your eyeshadow for an extended period. So, don’t skip this crucial step if you want your eyeshadow to look as stunning at the end of the day as it did when you first applied it.
• Applying an eyeshadow base is essential for achieving long-lasting eyeshadow looks.
• The base creates a smooth canvas on your eyelids, ensuring vibrant and crease-free eyeshadow throughout the day.
• Start by cleansing your eyelids to remove oils or residue before applying the base.
• Gently pat a thin layer of the base onto your entire lid, from lash line to brow bone, for even application.
• Allow the base to dry for a few seconds before moving on to the next step in your eyeshadow routine.
• Incorporating an eyeshadow base into your makeup routine can prolong wear and prevent fading or creasing.
• This step is especially important for those with oily eyelids or if you’ll be wearing eyeshadow for an extended period.
Creating a Gradient Effect with Eyeshadow
To achieve a gradient effect with eyeshadow, start by selecting two or more shades in the same color family. For example, you could choose a light pink, a medium rose, and a deep berry. Begin by applying the lightest shade all over the eyelid as a base. Then, using a clean eyeshadow brush, blend the medium shade into the crease of the eye, gradually building up the color intensity. Using a smaller brush, apply the darkest shade to the outer corner of the eye and blend it softly into the crease. This will create a visually stunning gradient effect that adds depth and dimension to your eye makeup.
When blending the different shades together, use gentle, sweeping motions to ensure a seamless transition between colors. Make sure to blend out any harsh edges to create a soft and diffused look. Remember, practice makes perfect, so don’t hesitate to experiment with different color combinations and techniques to find the gradient effect that suits you best. With a bit of patience and practice, you’ll be able to create beautiful gradient eyeshadow looks that make your eyes pop with color.
• Start by selecting two or more shades in the same color family
• Apply the lightest shade all over the eyelid as a base
• Blend the medium shade into the crease of the eye using a clean eyeshadow brush
• Gradually build up the color intensity while blending
• Use a smaller brush to apply and blend the darkest shade into the outer corner of the eye and softly into the crease
• Ensure seamless transitions between colors by using gentle, sweeping motions when blending
• Blend out any harsh edges for a soft and diffused look
• Experiment with different color combinations and techniques to find your perfect gradient effect
• Practice regularly to improve your skills in creating stunning gradient eyeshadow looks that make your eyes pop with color.
Adding Definition with Eyeliner Techniques
Eyeliner is a crucial tool when it comes to adding definition and drama to your eye makeup. There are various techniques you can use to achieve different effects and enhance the shape of your eyes. One popular method is tightlining, which involves applying eyeliner to the upper waterline to create the illusion of fuller lashes and make your eyes appear more defined. This technique is especially effective for those with smaller eyes or sparse lashes.
Another technique to consider is winged eyeliner, also known as the cat-eye look. This timeless trend involves extending the liner beyond the outer corners of the eyes to create a subtle or bold flick. Winged eyeliner adds a touch of glamour and sophistication to any makeup look, making your eyes appear more elongated and captivating. Remember to practice your winged liner technique to achieve precision and symmetry, as it can be a bit challenging at first.
By experimenting with different eyeliner techniques, you can easily transform your eye makeup and enhance your overall look. Whether you prefer a subtle tightline or a bold cat-eye, eyeliner allows you to add definition and personality to your eyes. So, grab your favorite eyeliner and start exploring the endless possibilities of creating stunning eye makeup looks.
• Tightlining is a popular technique that involves applying eyeliner to the upper waterline
• It creates the illusion of fuller lashes and makes eyes appear more defined
• Ideal for those with smaller eyes or sparse lashes
• Winged eyeliner, also known as the cat-eye look, adds glamour and sophistication to any makeup look
• It involves extending the liner beyond the outer corners of the eyes to create a flick
• Winged eyeliner makes eyes appear elongated and captivating
• Practice is key to achieving precision and symmetry with winged liner technique
• Experimenting with different eyeliner techniques allows you to transform your eye makeup
and enhance your overall look
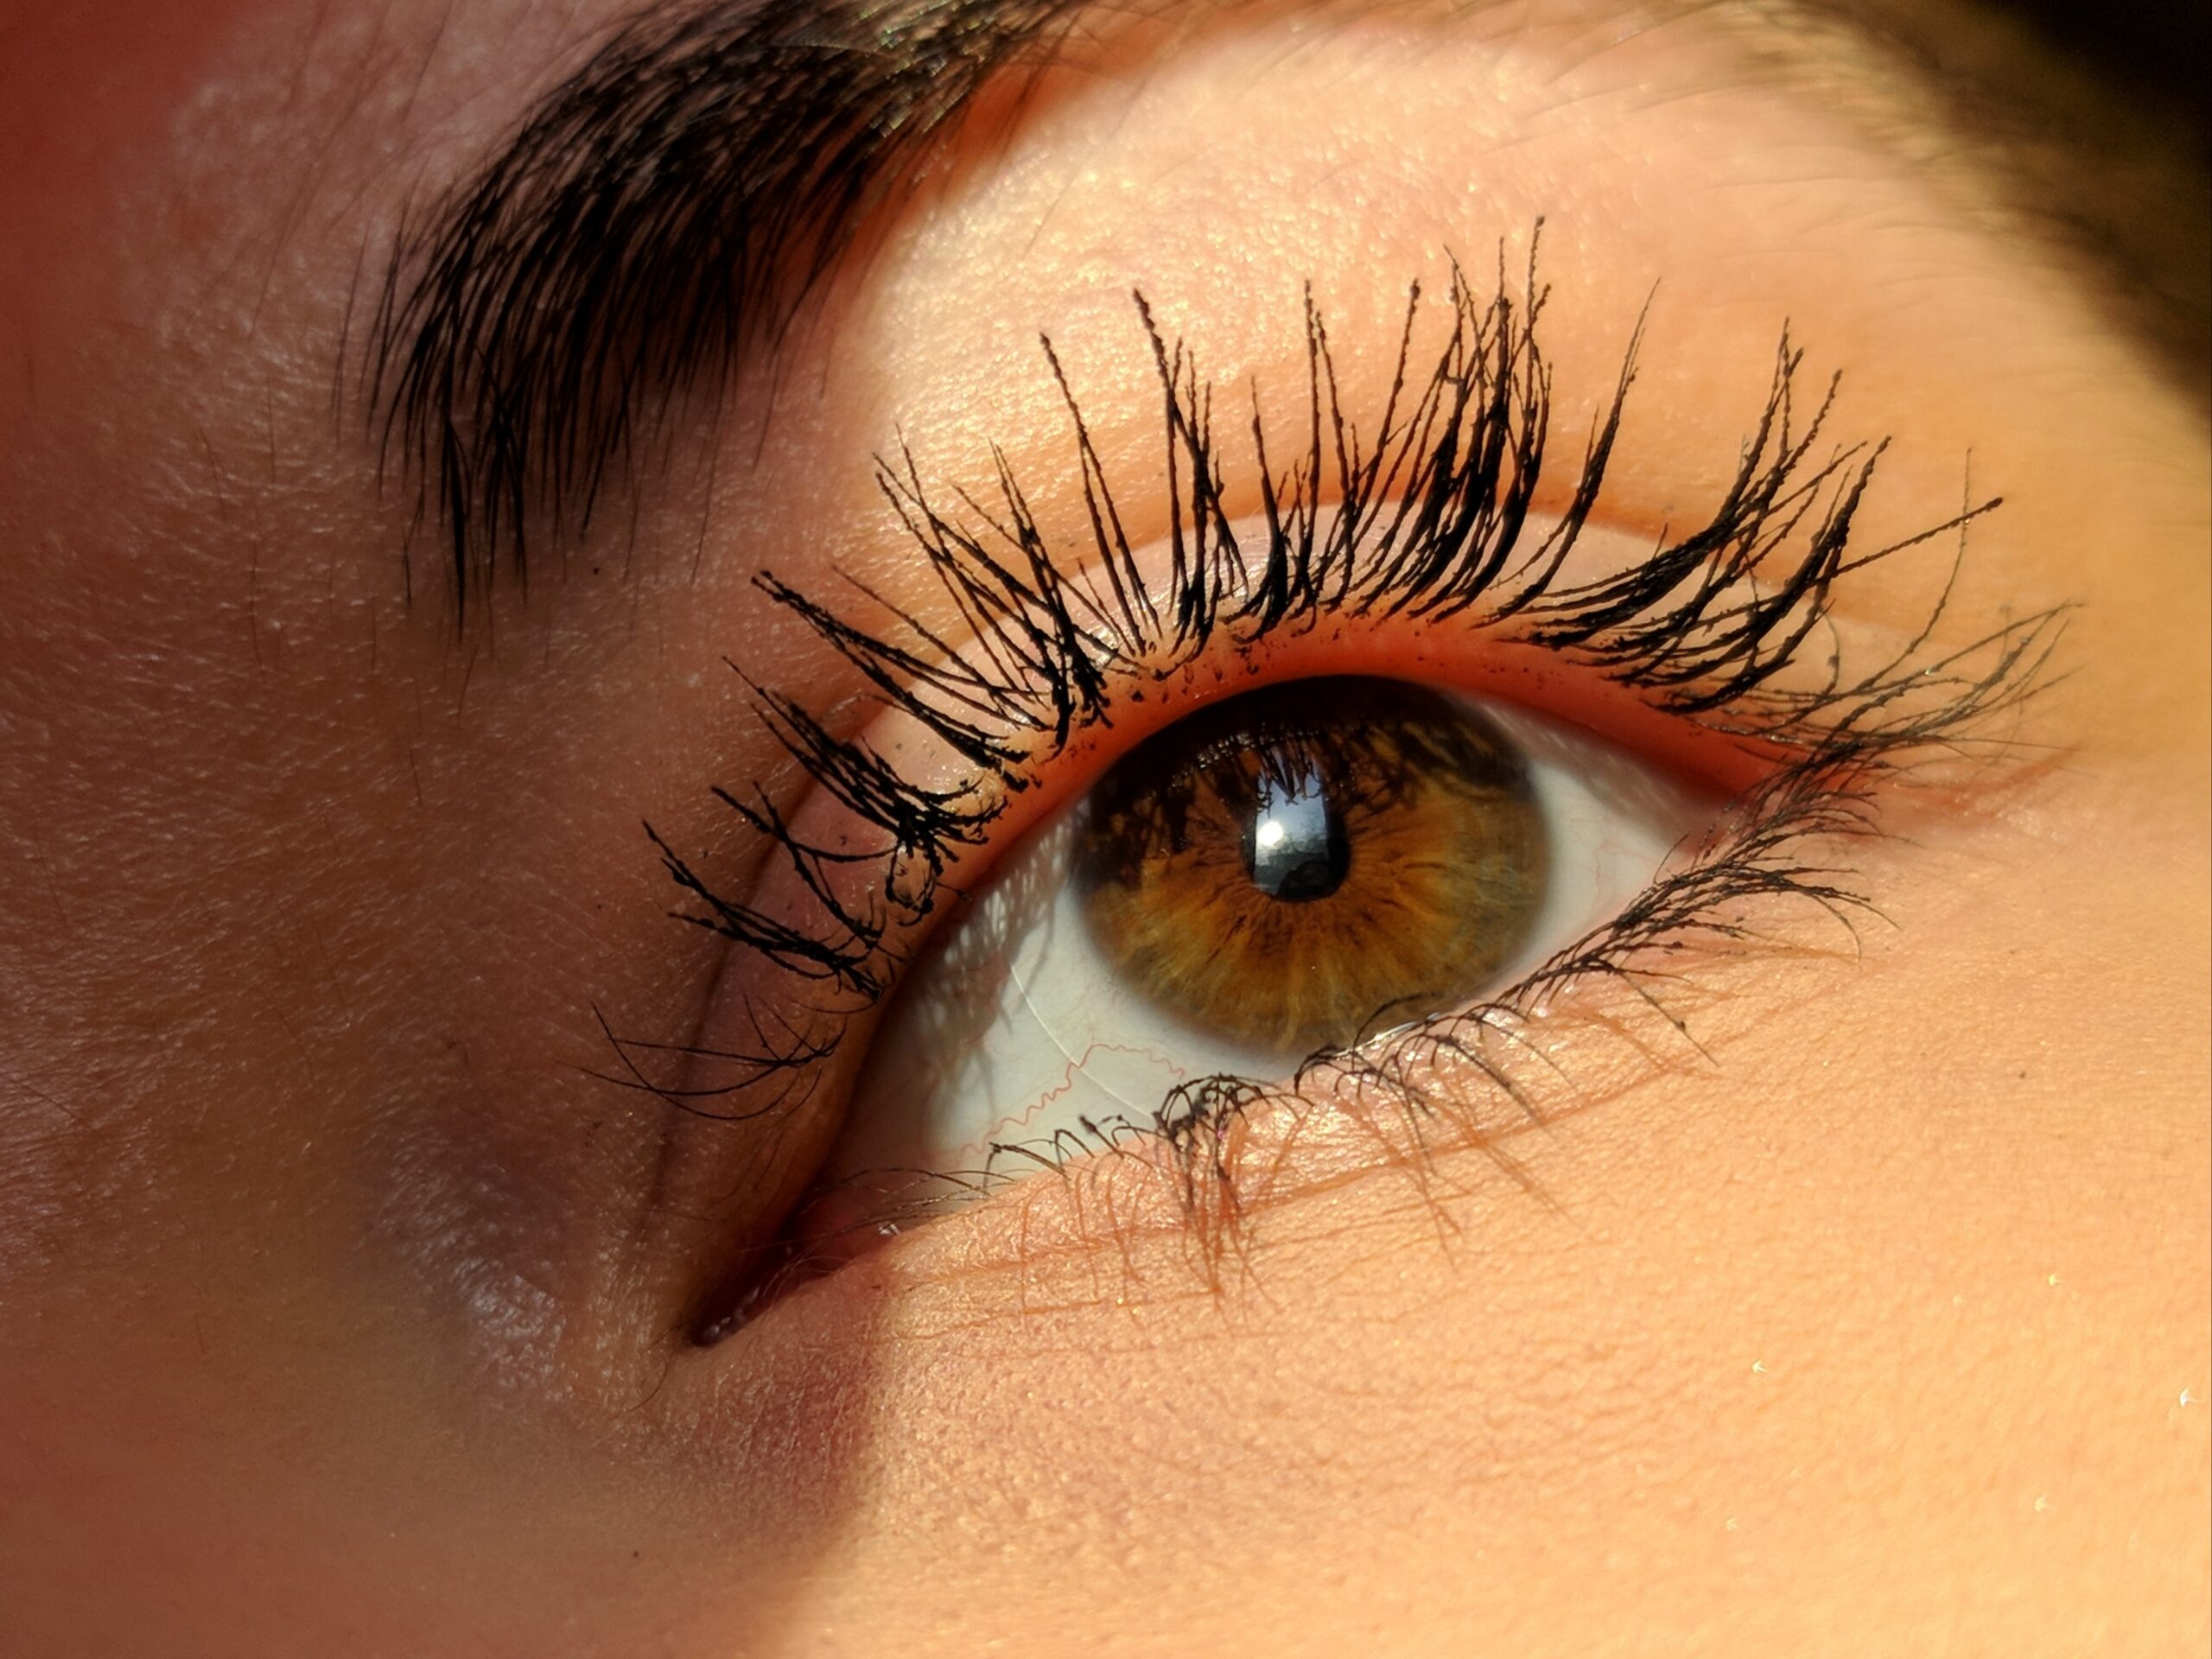
Enhancing Your Lashes with Mascara
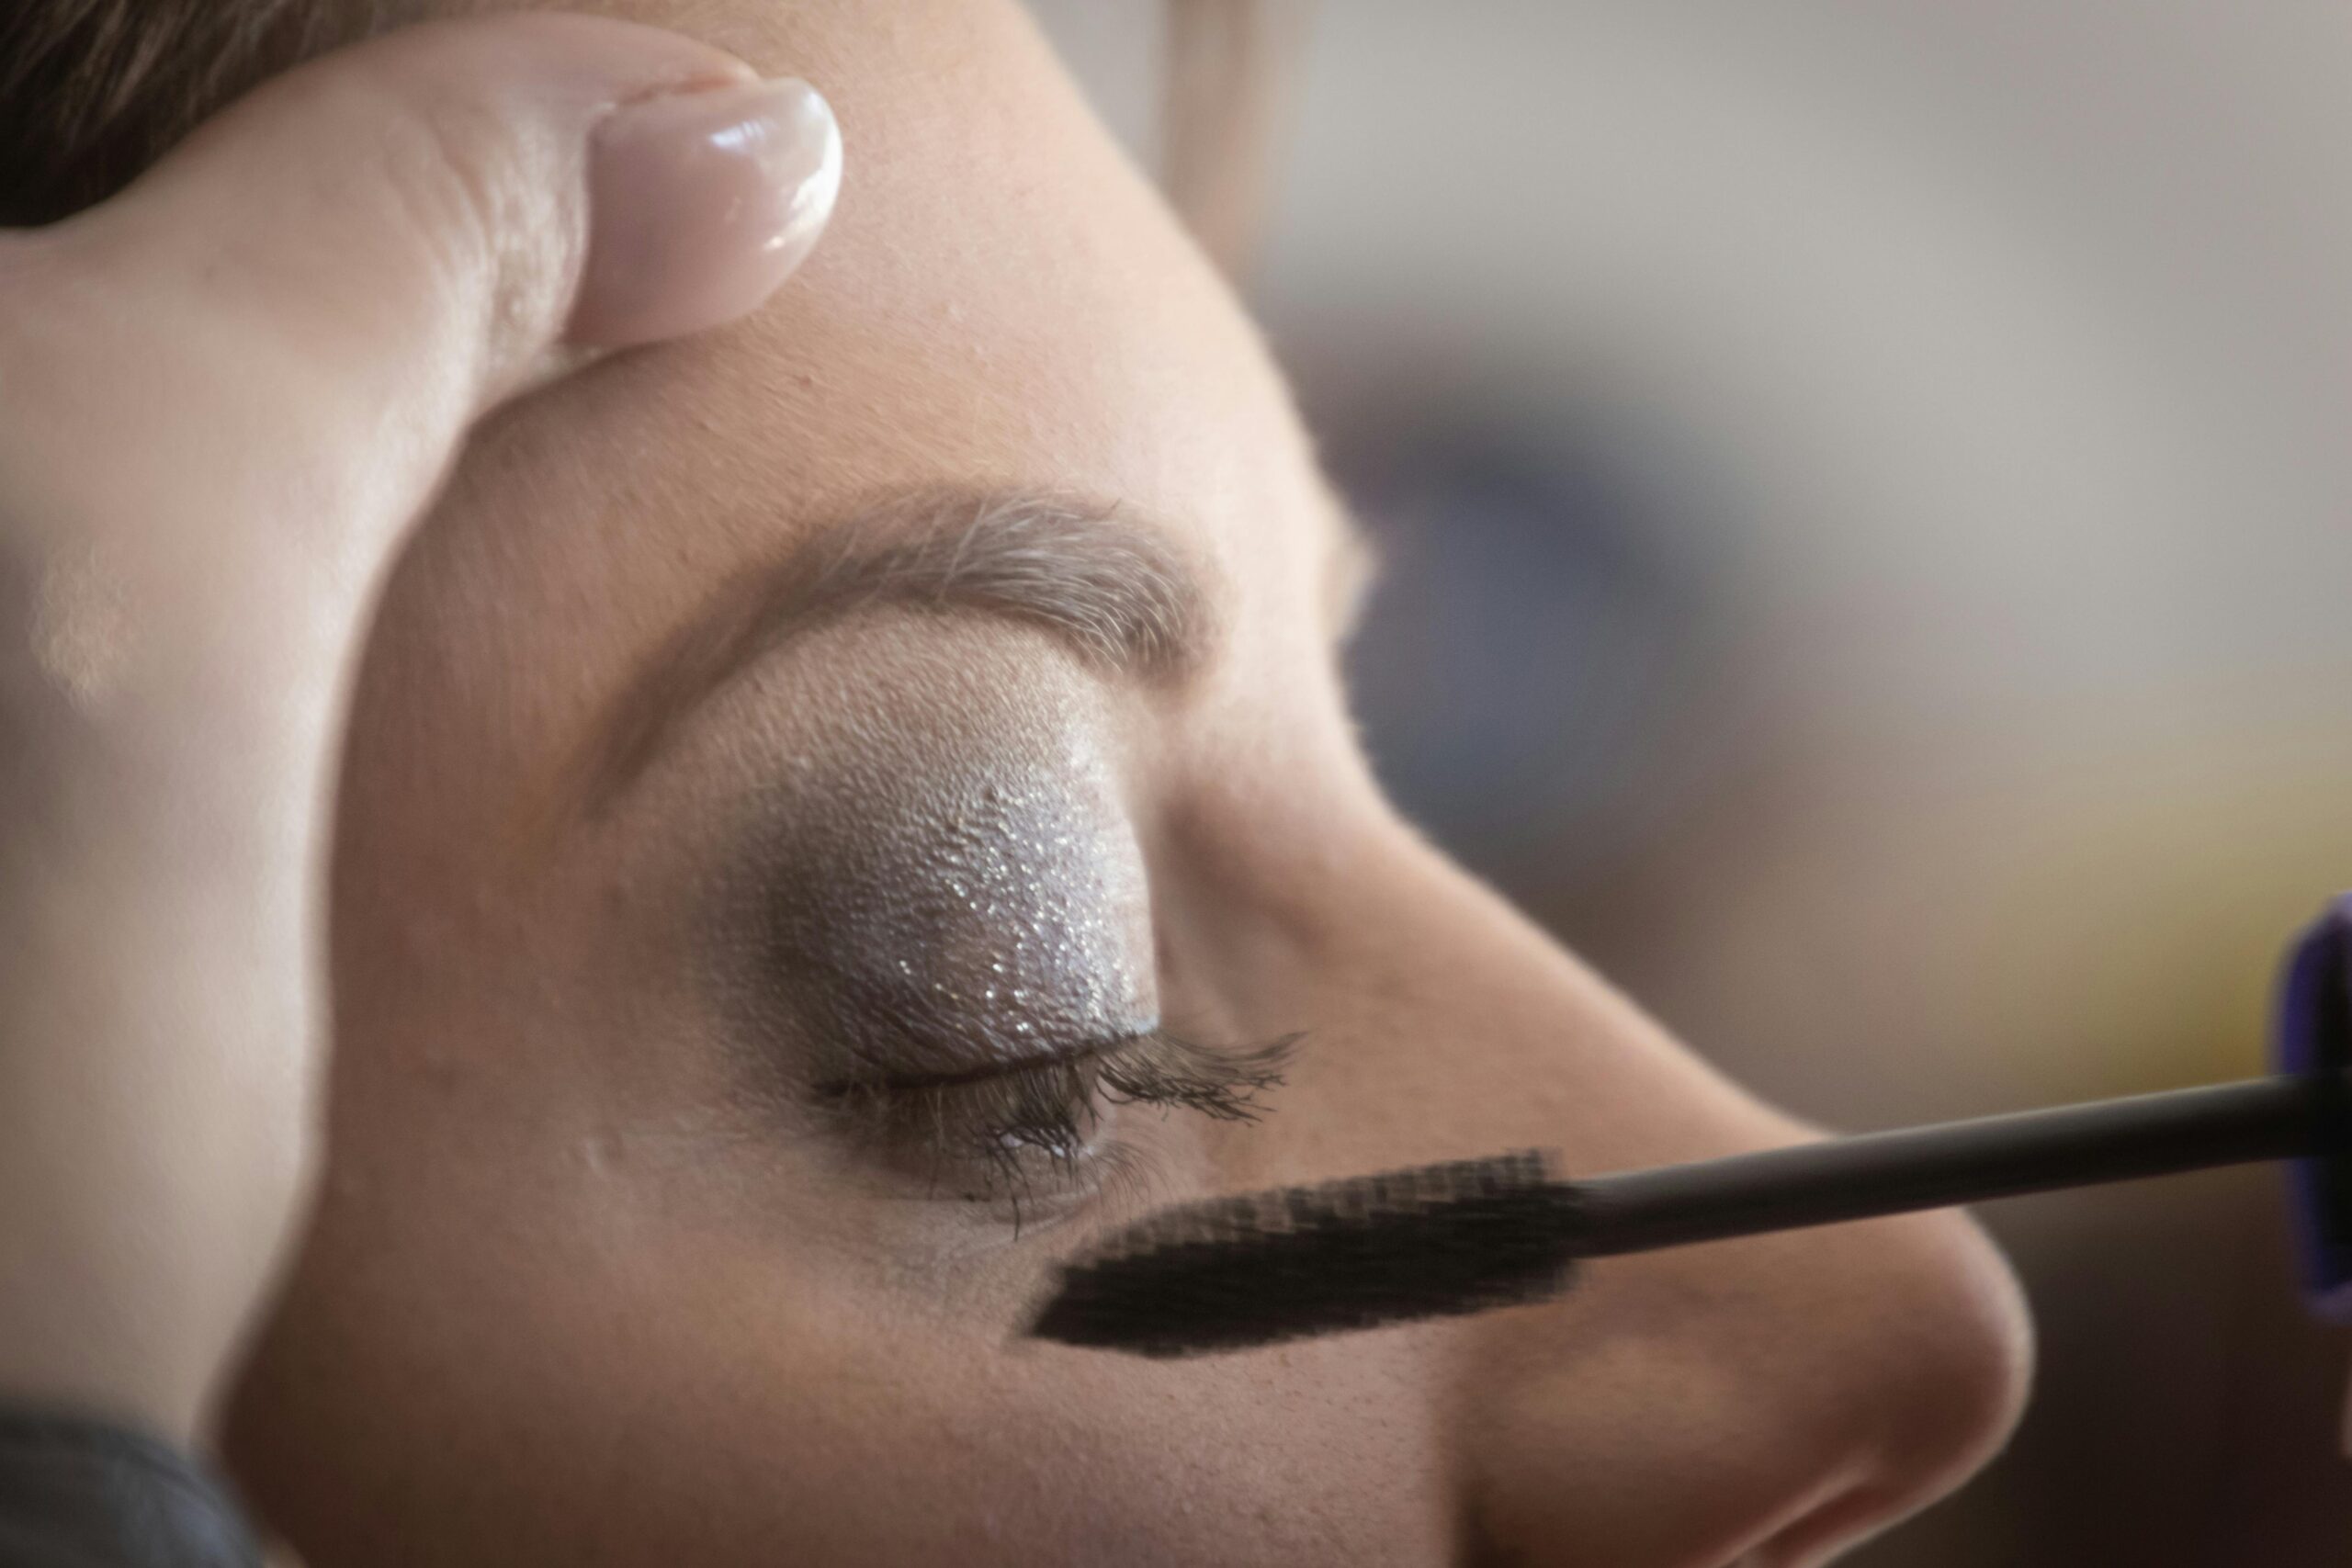
To achieve the perfect fluttery lashes, mascara is a makeup staple. This versatile product not only thickens and lengthens lashes but also enhances their natural beauty. When choosing a mascara, it’s essential to consider your desired effect, whether it’s volumizing, lengthening, or curling. With a wide range of formulas and wand styles available, you can easily find the perfect mascara to suit your needs. When applying mascara, start at the root of your lashes and wiggle the wand upward in a zigzag motion. This technique helps to separate and coat each lash evenly, creating a fuller and more defined look. For added drama, apply multiple coats, allowing each layer to dry before applying the next. Don’t forget to gently sweep the wand over your lower lashes for a cohesive look.
For those who desire lush and voluminous lashes, consider trying a mascara with a thickening formula. These mascaras usually contain ingredients like collagen or fibers that plump up the lashes, making them appear fuller. Lengthening mascaras, on the other hand, are designed to stretch the lashes and give them a more elongated appearance. They often have a lighter, more liquid-like consistency that allows for seamless application. If you have straight lashes or prefer a more lifted look, a curling mascara is the way to go. These mascaras typically have a curved wand that helps to lift and curl the lashes as you apply the product. Whatever your lash goals may be, experimenting with different mascaras can help you find the one that enhances your lashes and completes your eye makeup look.
• Mascara is a versatile product that thickens, lengthens, and enhances lashes
• Consider your desired effect when choosing mascara (volumizing, lengthening, curling)
• There are a wide range of formulas and wand styles available to suit your needs
• Start at the root of your lashes and wiggle the wand upward in a zigzag motion for even coating
• Apply multiple coats for added drama, allowing each layer to dry before applying the next
• Don’t forget to sweep the wand over lower lashes for a cohesive look
For lush and voluminous lashes:
– Try a mascara with a thickening formula containing ingredients like collagen or fibers
– These mascaras plump up the lashes, making them appear fuller
For elongated appearance:
– Use lengthening mascaras with lighter, liquid-like consistency for seamless application
– They stretch the lashes giving them an elongated appearance
For lifted look:
– Opt for curling mascara with curved wands
– The curved shape helps lift and curl the lashes as you apply
Experimenting with different mascaras can help you find one that enhances your lash goals.
Perfecting the Eyebrows to Frame the Eyes
To achieve a perfectly framed eye look, it is essential to pay attention to the eyebrows. Well-groomed eyebrows not only enhance the overall appearance of the eyes but also create a polished and put-together look.
Firstly, it is important to determine the ideal eyebrow shape that complements your natural facial features. The shape should enhance your eye shape and provide balance to the face. To achieve this, start by finding the starting point of the brow by aligning it with the outer edge of your nostril and the inner corner of the eye. The highest point of the arch can be found by aligning a pencil from the outer edge of the nose to the center of the iris. Lastly, the tail end of the brow should align with the outer corner of the eye. Following these guidelines will help you create a flattering brow shape that frames your eyes beautifully.
Now let’s talk about filling in the eyebrows. Using an eyebrow pencil or powder that matches your natural hair color, gently fill in any sparse areas and define the shape of the brows. Use short, light strokes to mimic the appearance of hair and avoid harsh lines. Brushing the brows with a spoolie brush afterwards will help evenly distribute the product and create a more seamless look. Remember to blend the product well and be mindful of the intensity to maintain a natural-looking result. With well-defined and filled-in eyebrows, your eyes will be perfectly framed, adding depth and dimension to your eye makeup look.
• Determine the ideal eyebrow shape that complements your natural facial features
• Find the starting point of the brow by aligning it with the outer edge of your nostril and inner corner of the eye
• Locate the highest point of the arch by aligning a pencil from the outer edge of the nose to the center of the iris
• Ensure that tail end of brow aligns with outer corner of eye for balanced look
• Fill in sparse areas and define shape using an eyebrow pencil or powder matching your hair color
• Use short, light strokes to mimic appearance of hair and avoid harsh lines
• Brush brows with spoolie brush to distribute product evenly
• Blend product well for a natural-looking result
• Well-defined and filled-in eyebrows add depth and dimension to eye makeup look
Highlighting and Contouring the Eye Area
Highlighting and contouring the eye area is a makeup technique that can help enhance the natural shape and features of your eyes. By strategically applying light and dark shades, you can create depth, dimension, and a more lifted appearance to the eyes.
To highlight the eye area, use a light, shimmery eyeshadow or highlighter on the inner corners of the eyes and on the brow bone. This will create an instant brightening effect and make your eyes appear more awake. For contouring, choose a slightly deeper shade than your natural skin tone and apply it to the crease of your eyelids. This will add definition and create the illusion of depth, making your eyes appear more prominent.
Remember, less is often more when it comes to highlighting and contouring the eye area. It’s important to blend well to avoid any harsh lines or uneven application. With practice and the right techniques, you can achieve a beautifully enhanced eye look that complements your overall makeup.
• Use a light, shimmery eyeshadow or highlighter on the inner corners of the eyes and brow bone to create a brightening effect.
• Apply a slightly deeper shade than your natural skin tone to the crease of your eyelids for contouring and added definition.
• Blend well to avoid harsh lines or uneven application.
• Practice and use the right techniques to achieve a beautifully enhanced eye look that complements your overall makeup.
Finishing Touches: Blending, Setting, and Setting Spray
After carefully applying your eyeshadow and eyeliner, it’s important to perfect the finishing touches to ensure a flawless look that lasts all day. The first step in this process is blending your eyeshadow colors together seamlessly. Using a blending brush, gently sweep back and forth along the crease of your eyelid to create a soft gradient effect. This will eliminate any harsh lines and create a more polished look. Remember to blend with a light hand, as you want to maintain the intensity of your eyeshadow while still achieving a natural and blended finish.
Once you’ve achieved the desired blend, it’s time to set your eyeshadow in place. Applying a thin layer of setting powder all over your eyelids will help to prevent creasing and keep your eyeshadow looking fresh and vibrant throughout the day. This step is especially important for those with oily or hooded eyelids, as it helps to prevent any smudging or fading. For a more intense and long-lasting effect, consider using a setting spray. Simply mist a few sprays onto your closed eyes, allowing the product to dry completely. This will not only set your eyeshadow, but also help to keep your entire eye makeup in place for hours of wear.
• Use a blending brush to seamlessly blend eyeshadow colors together
• Gently sweep back and forth along the crease of your eyelid for a soft gradient effect
• Blend with a light hand to maintain intensity while achieving a natural finish
• Set your eyeshadow in place by applying a thin layer of setting powder all over your eyelids
• Helps prevent creasing and keeps eyeshadow looking fresh and vibrant throughout the day
• Especially important for those with oily or hooded eyelids to prevent smudging or fading
• Consider using a setting spray for more intense and long-lasting effects
• Mist a few sprays onto closed eyes, allowing product to dry completely
• Sets not only eyeshadow but also helps keep entire eye makeup in place for hours of wear